Installing Grafana
- Connecting Grafana-Server instance using PuTTY
- Copy Public IPv4 address and enter it in PuTTY
- Save sessions with the name GrafanaServer
- Also use the generated keypair to connect
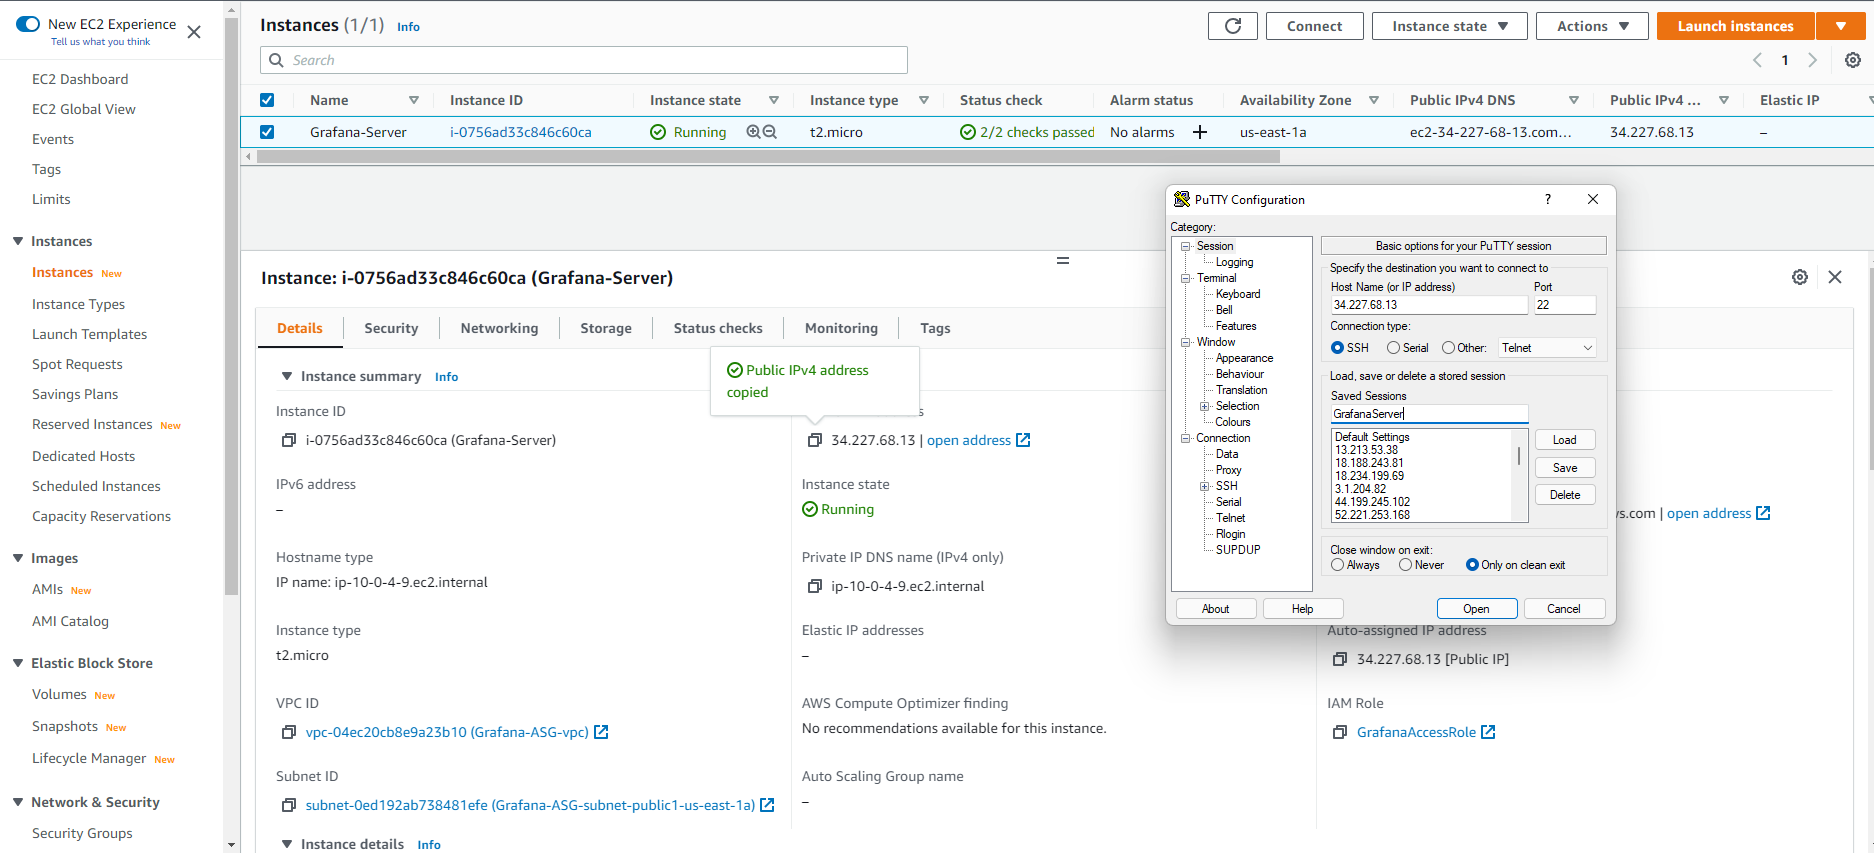
- EC2 instance connection successful

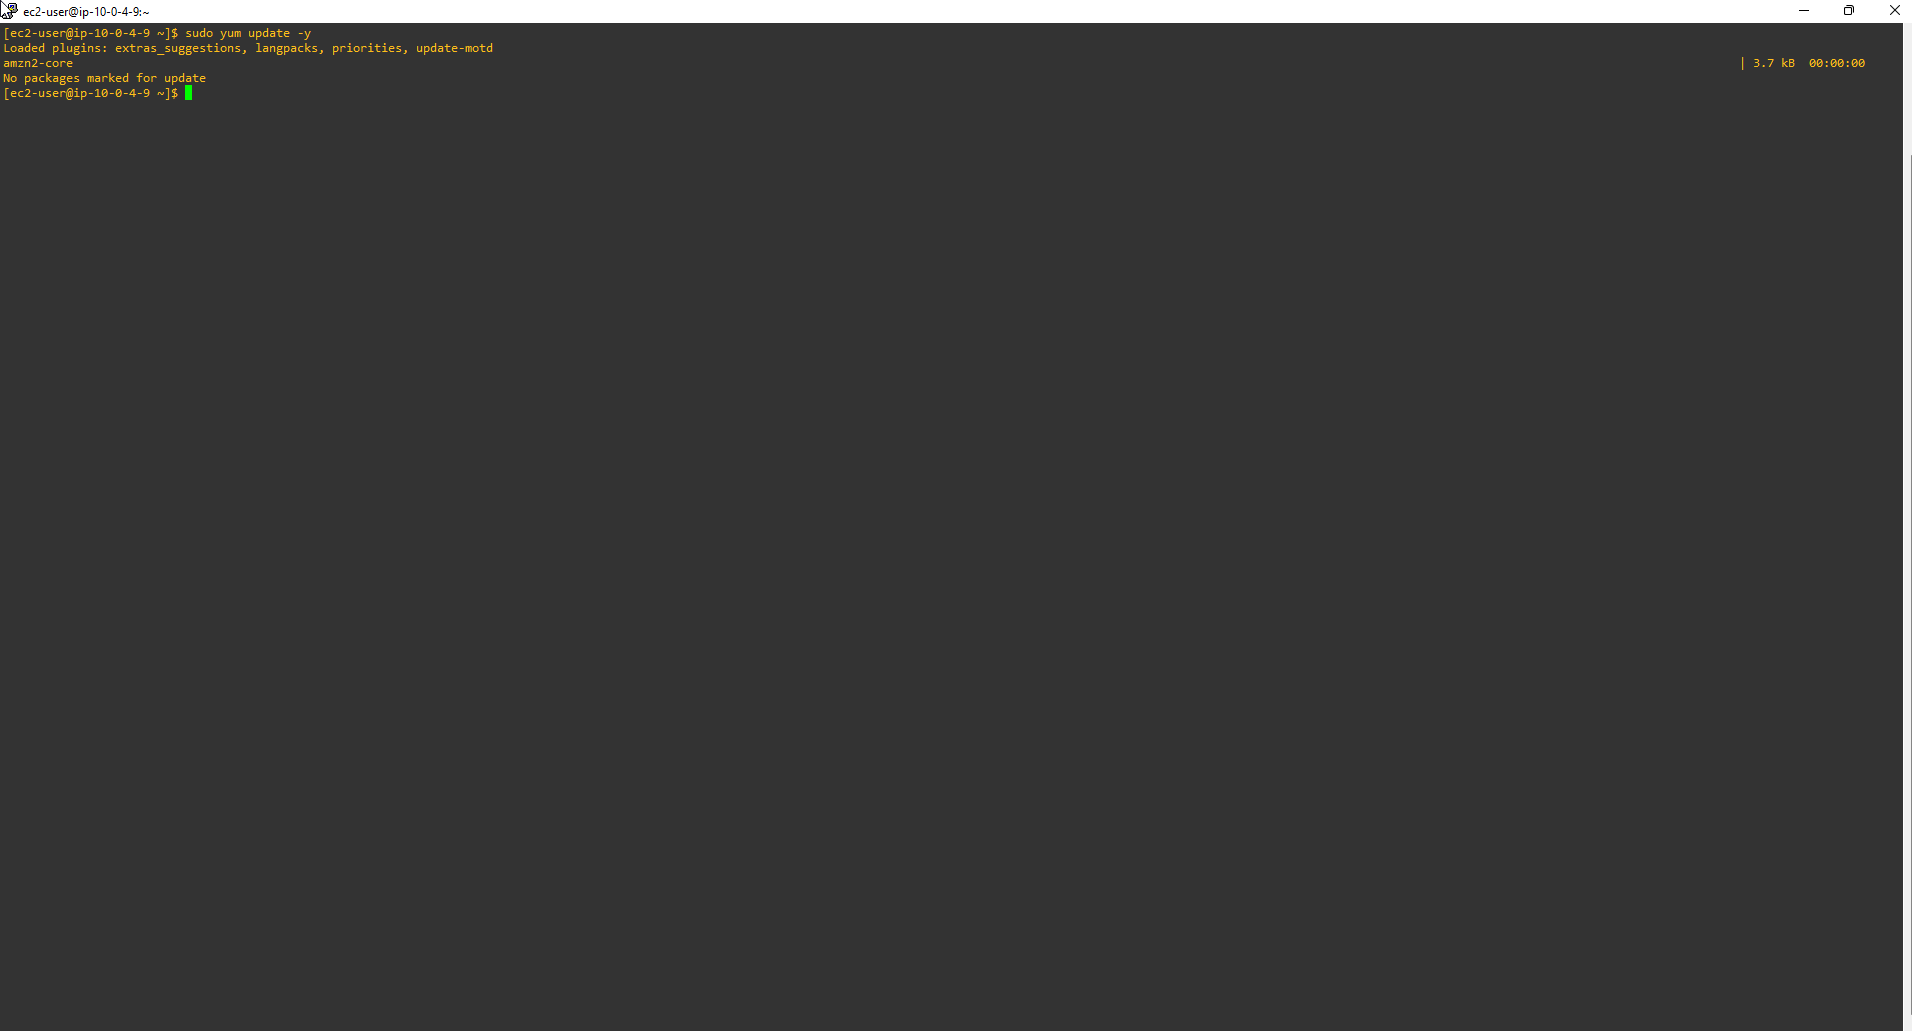
- Since this is our first time accessing EC2 Instance we need to install the latest updates.
sudo yum update -y
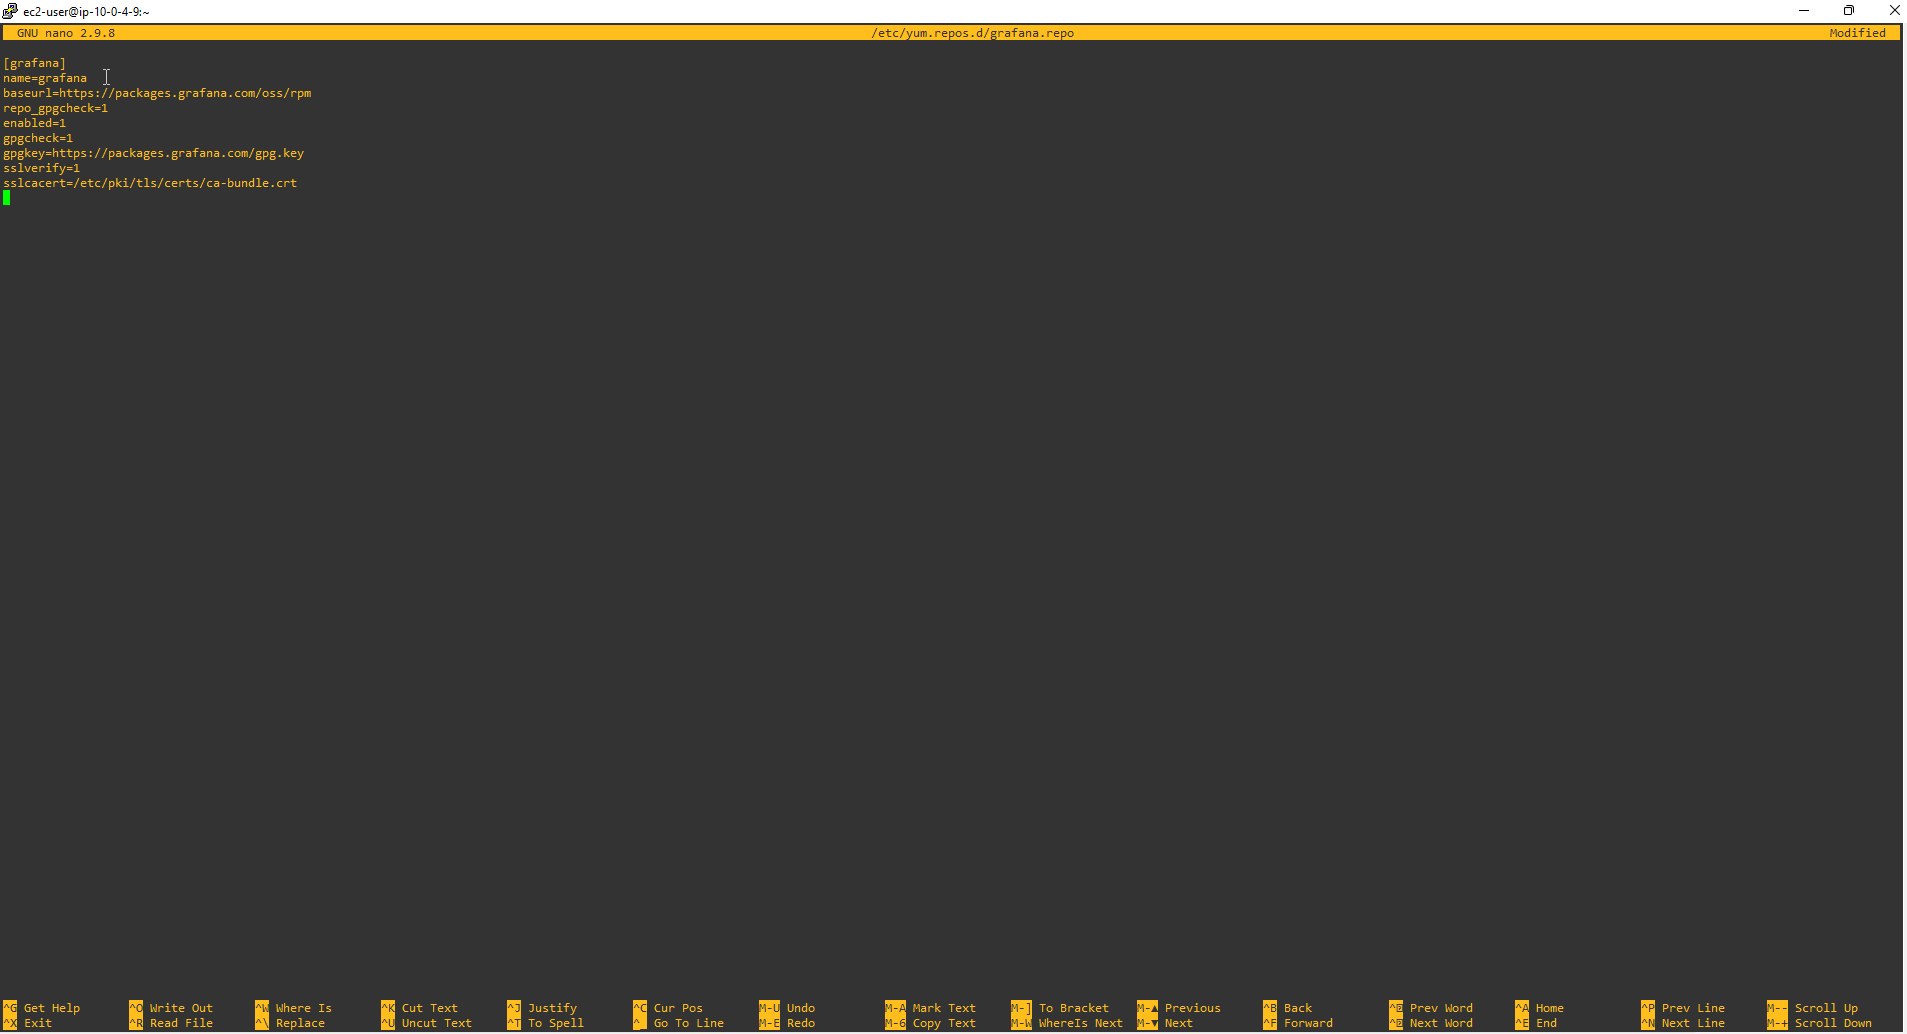
- Then add YUM respository to download Grafana.
sudo nano /etc/yum.repos.d/grafana.repo
- Add the content below to the file grafana.repo.
[grafana]
name=grafana
baseurl=https://rpm.grafana.com
repo_gpgcheck=1
enabled=1
gpgcheck=1
gpgkey=https://rpm.grafana.com/gpg.key
sslverify=1
sslcacert=/etc/pki/tls/certs/ca-bundle.crt
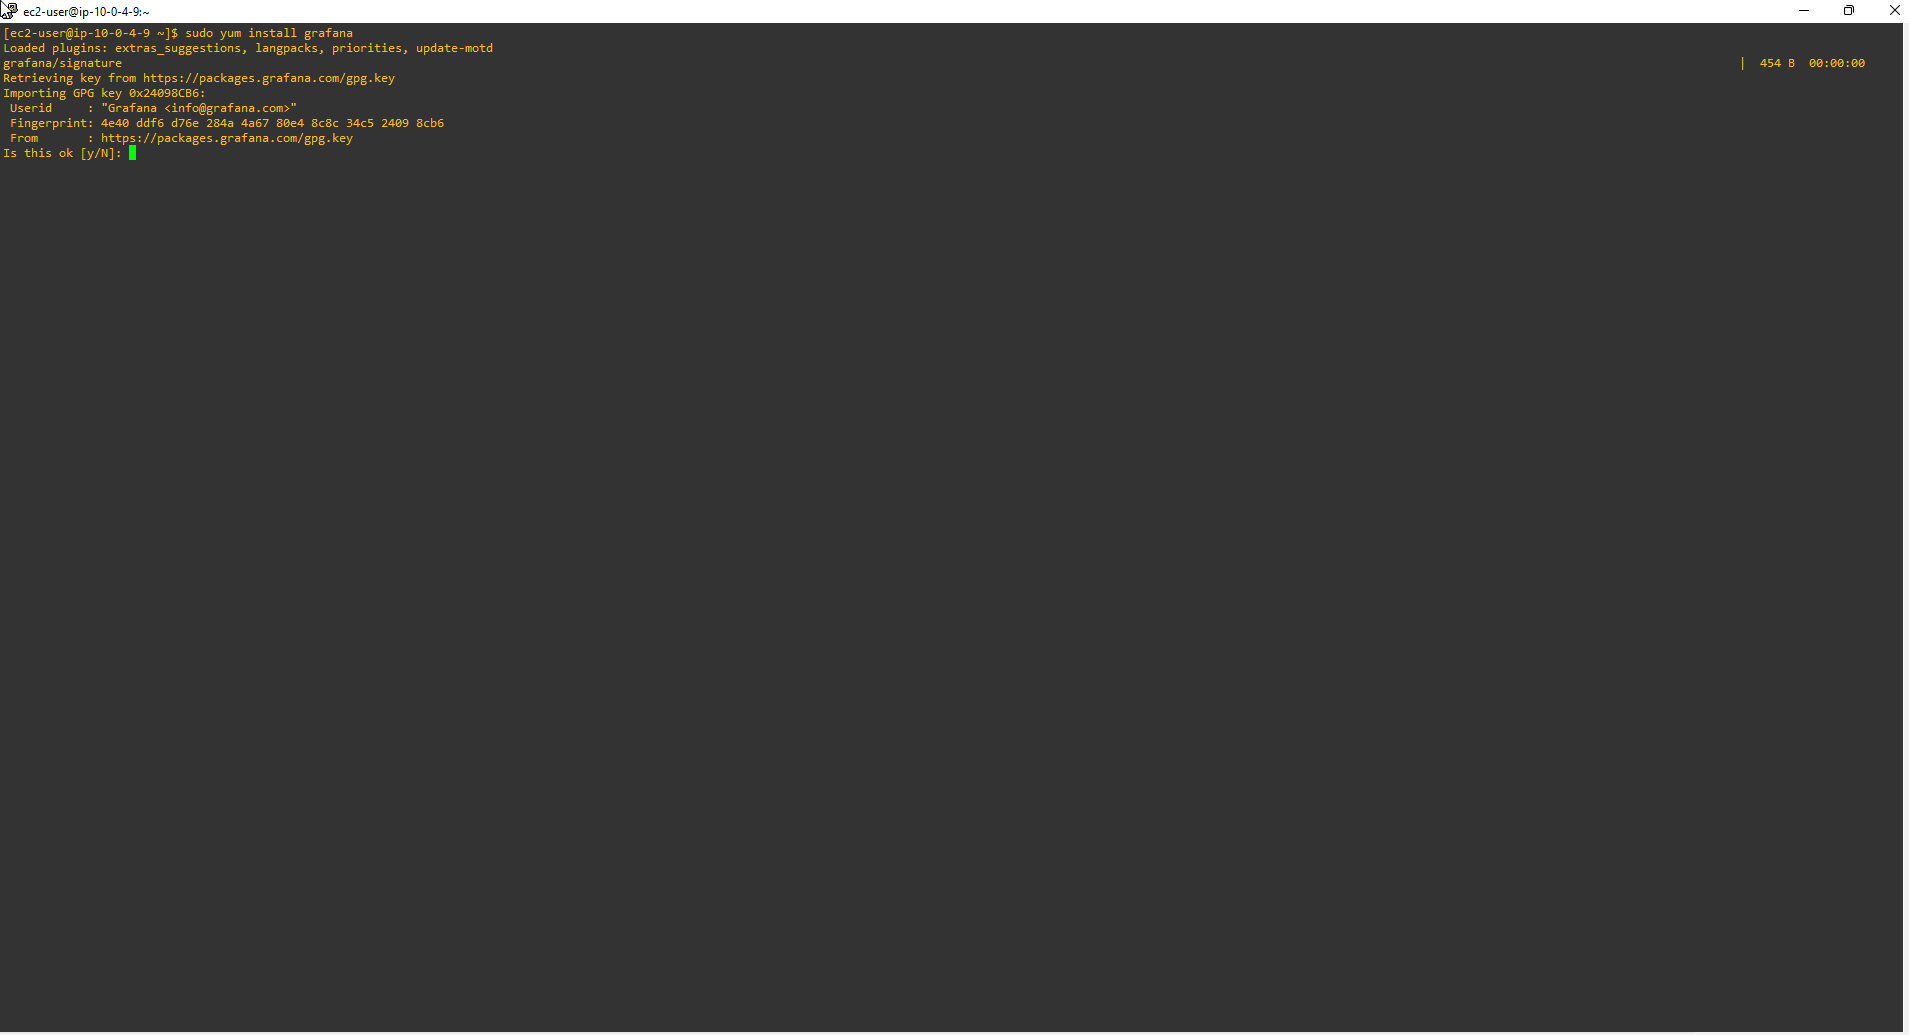
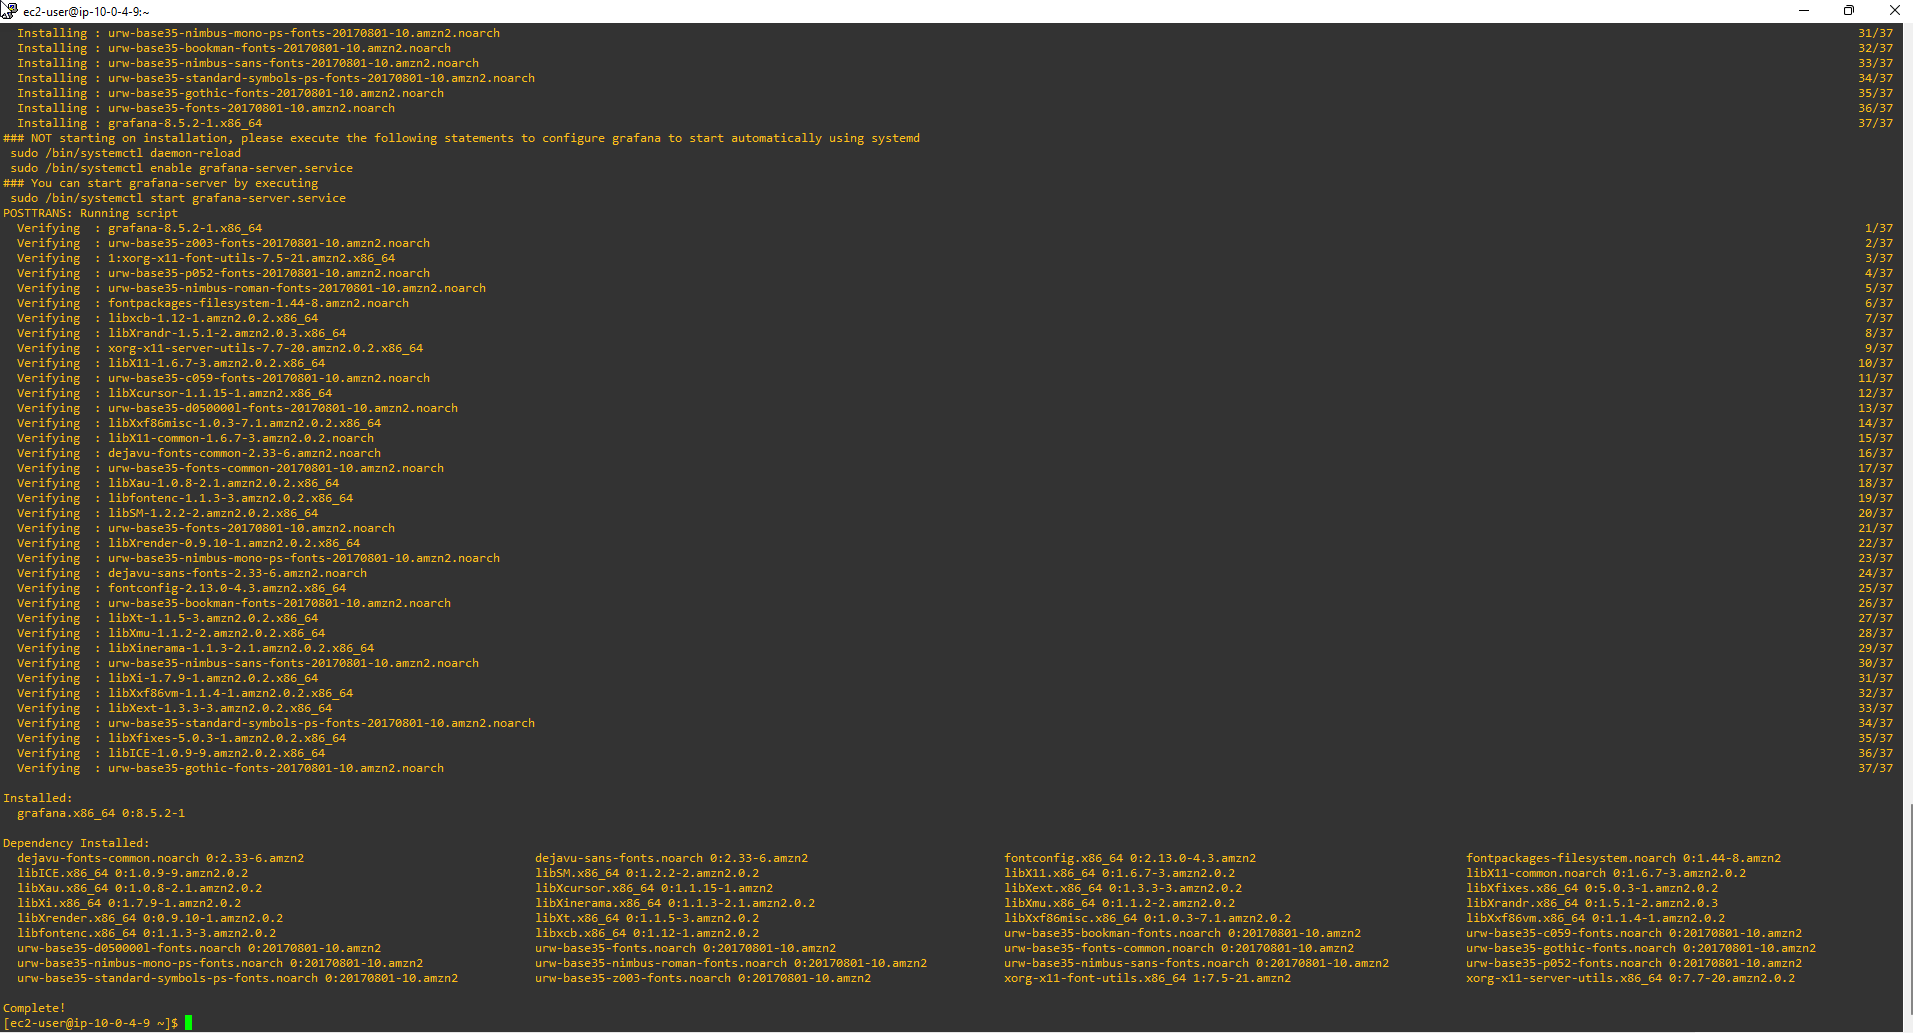
- Install Grafana.
sudo yum install grafana
- There are about 3 times the system requires entering Y to download all Grafana packages.
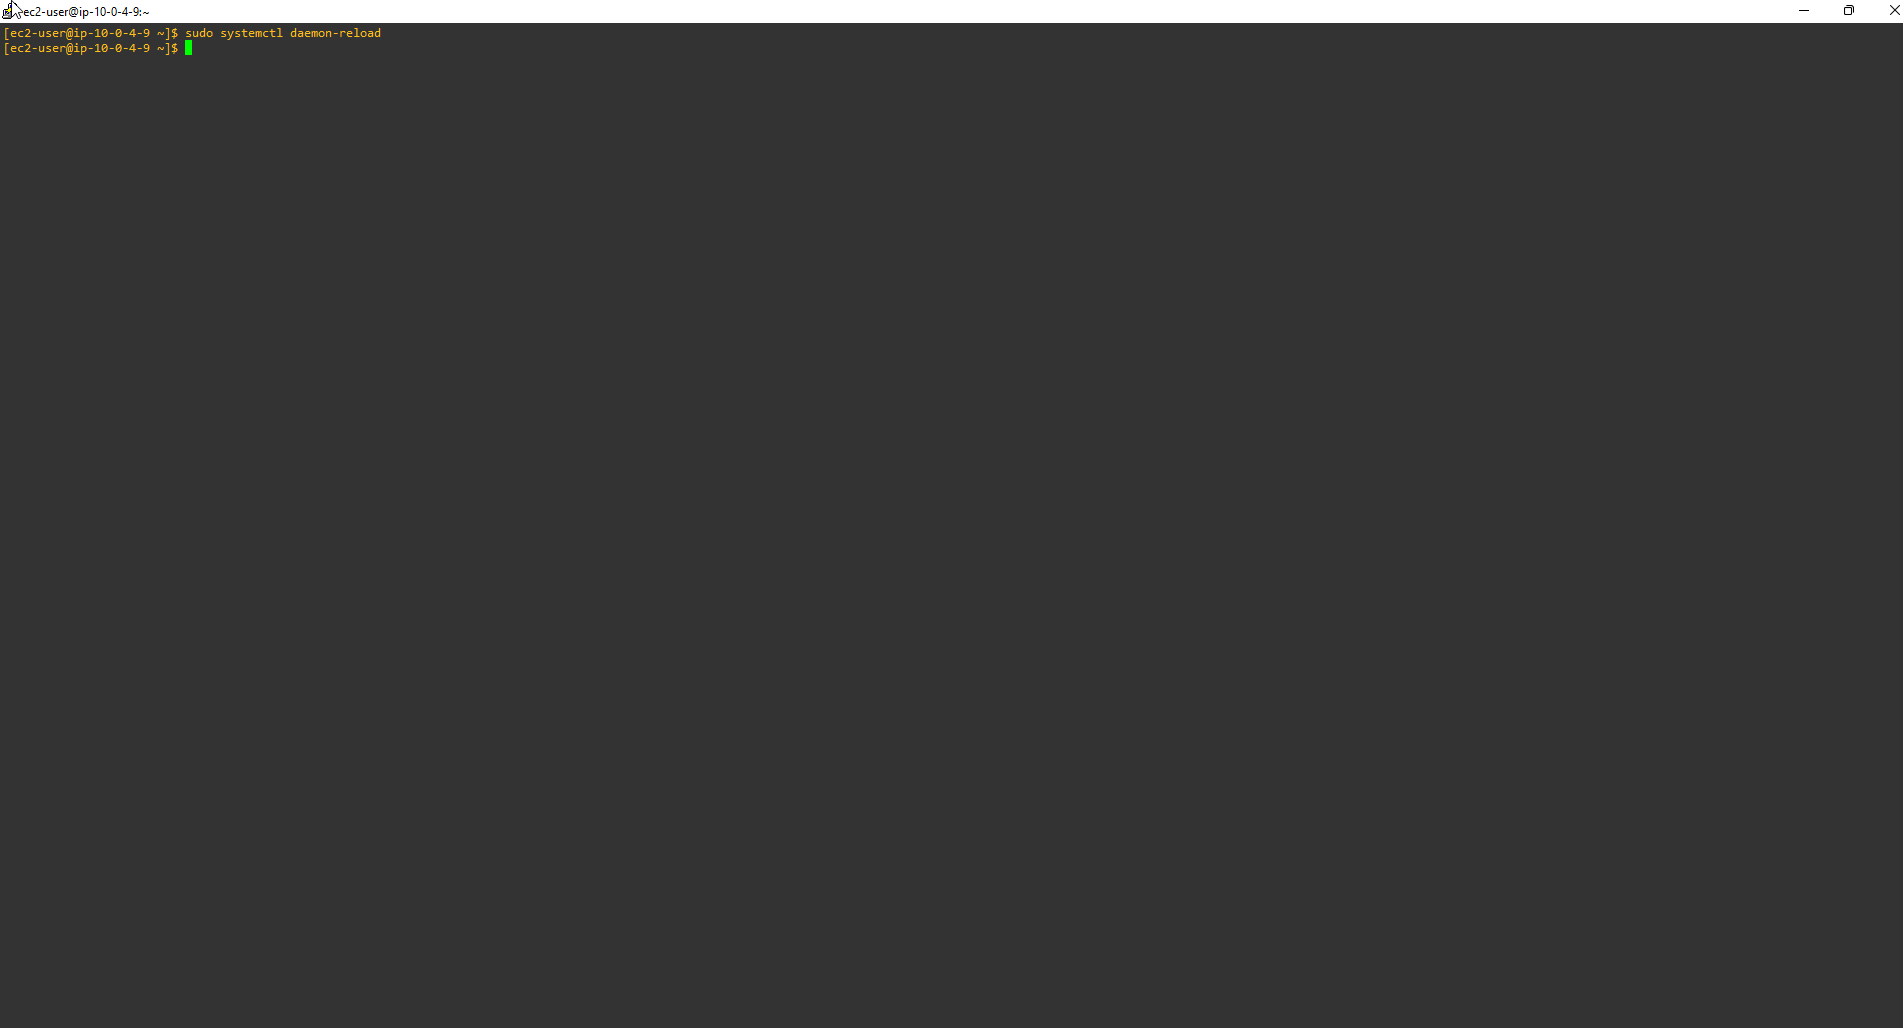
- Reload the systemd service to load the new settings. Launch Grafana Server, then check the status.
sudo systemctl daemon-reload
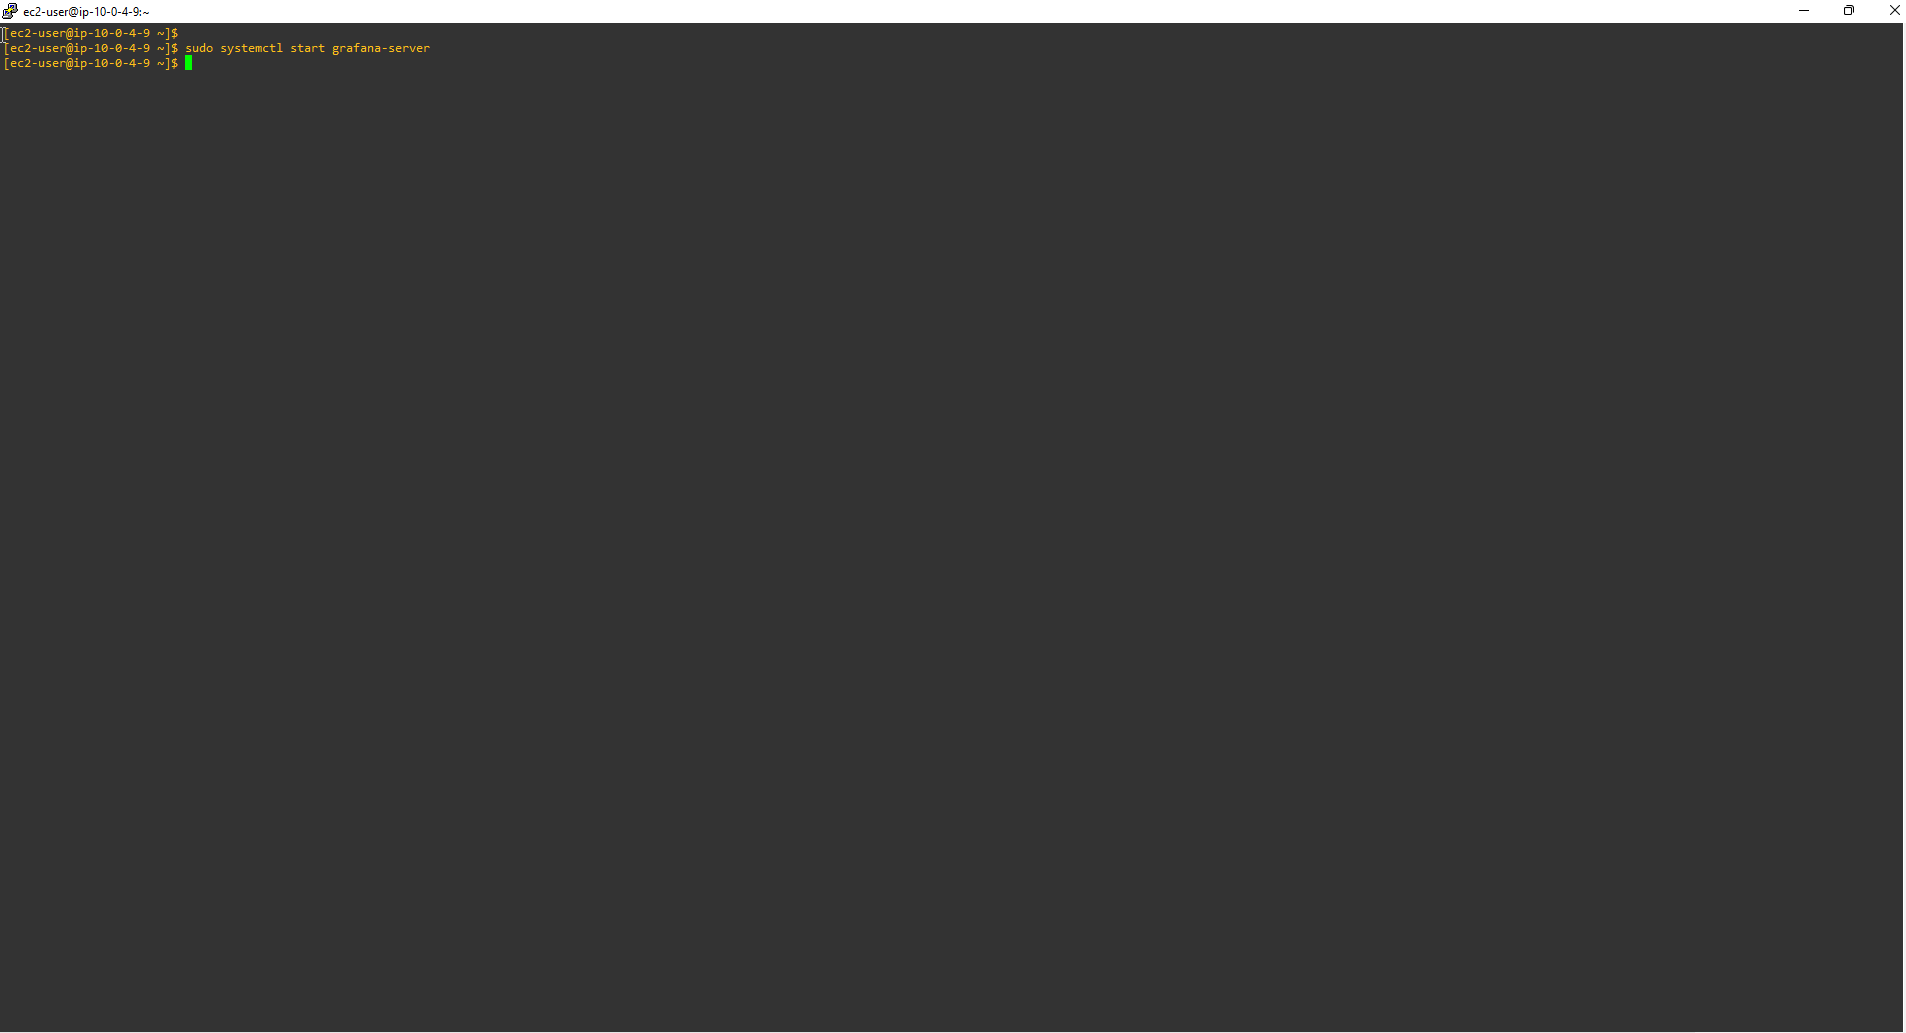
- Run Grafana Server.
sudo systemctl start grafana-server
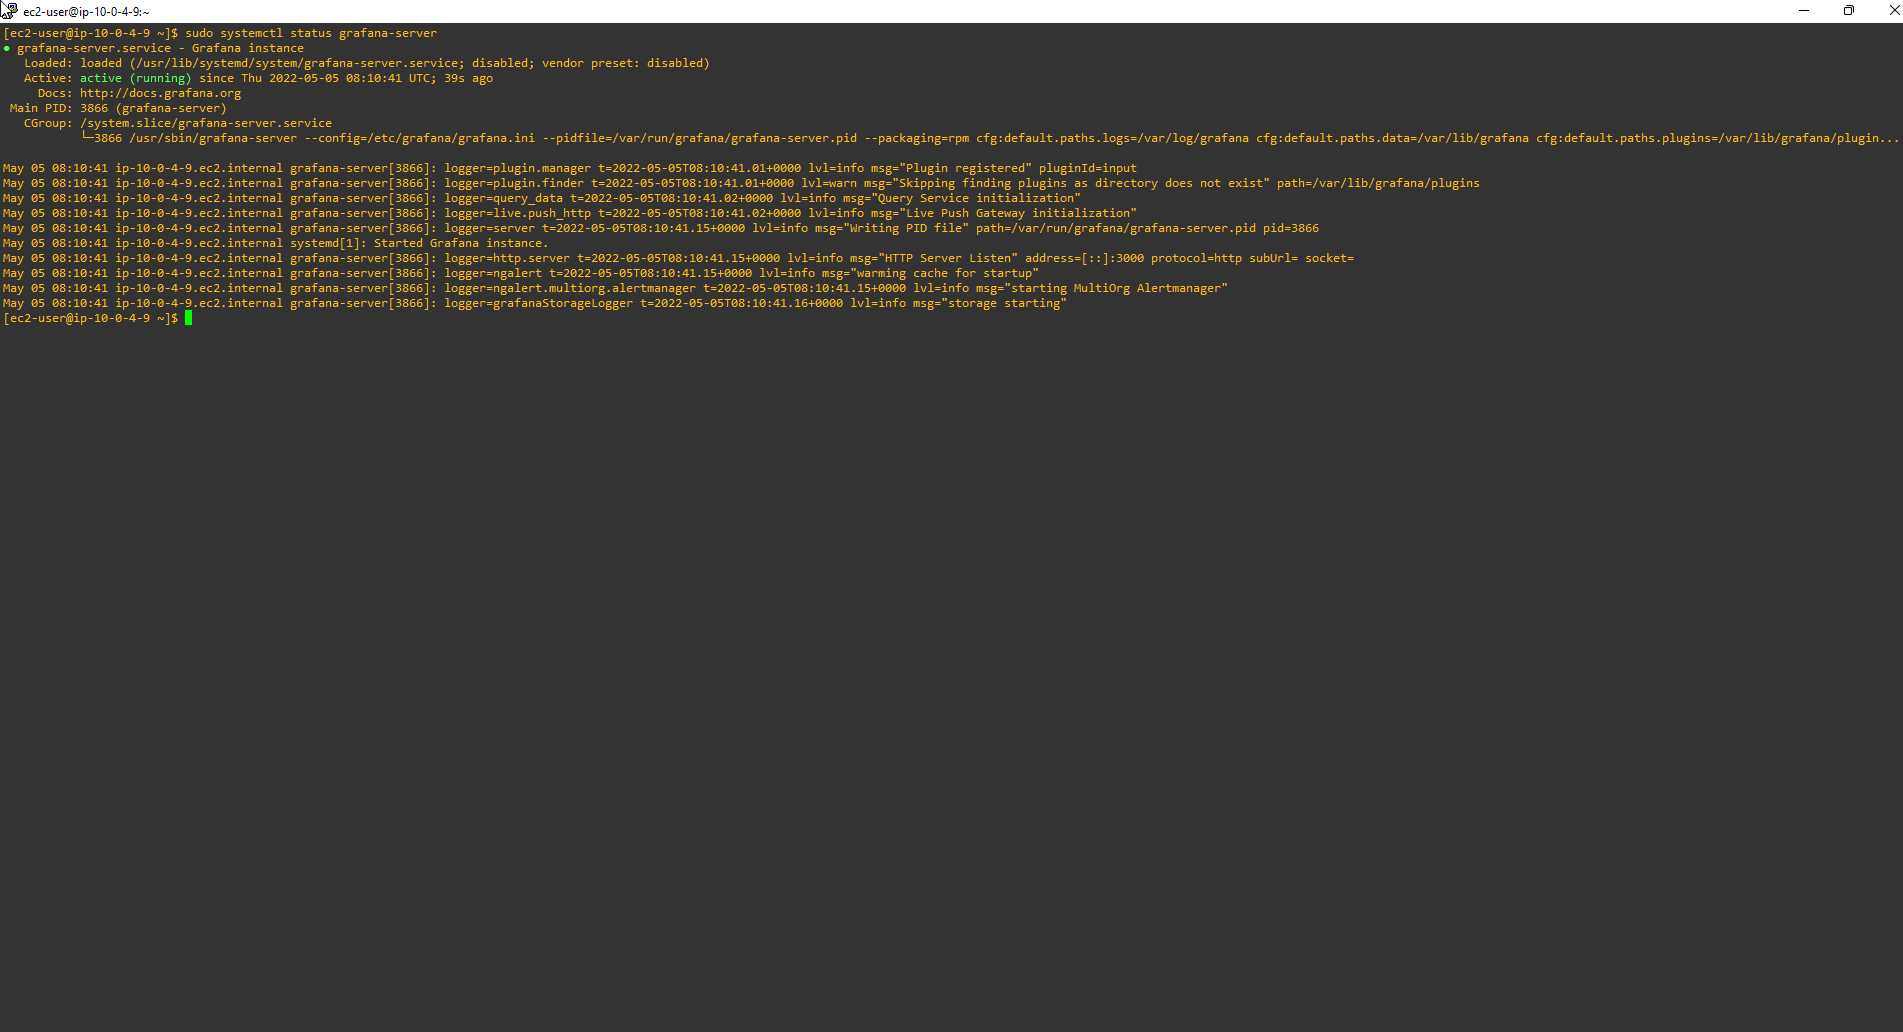
- Check the status of Grafana Server. The output status will indicate that grafana-server is active (running).
sudo systemctl status grafana-server
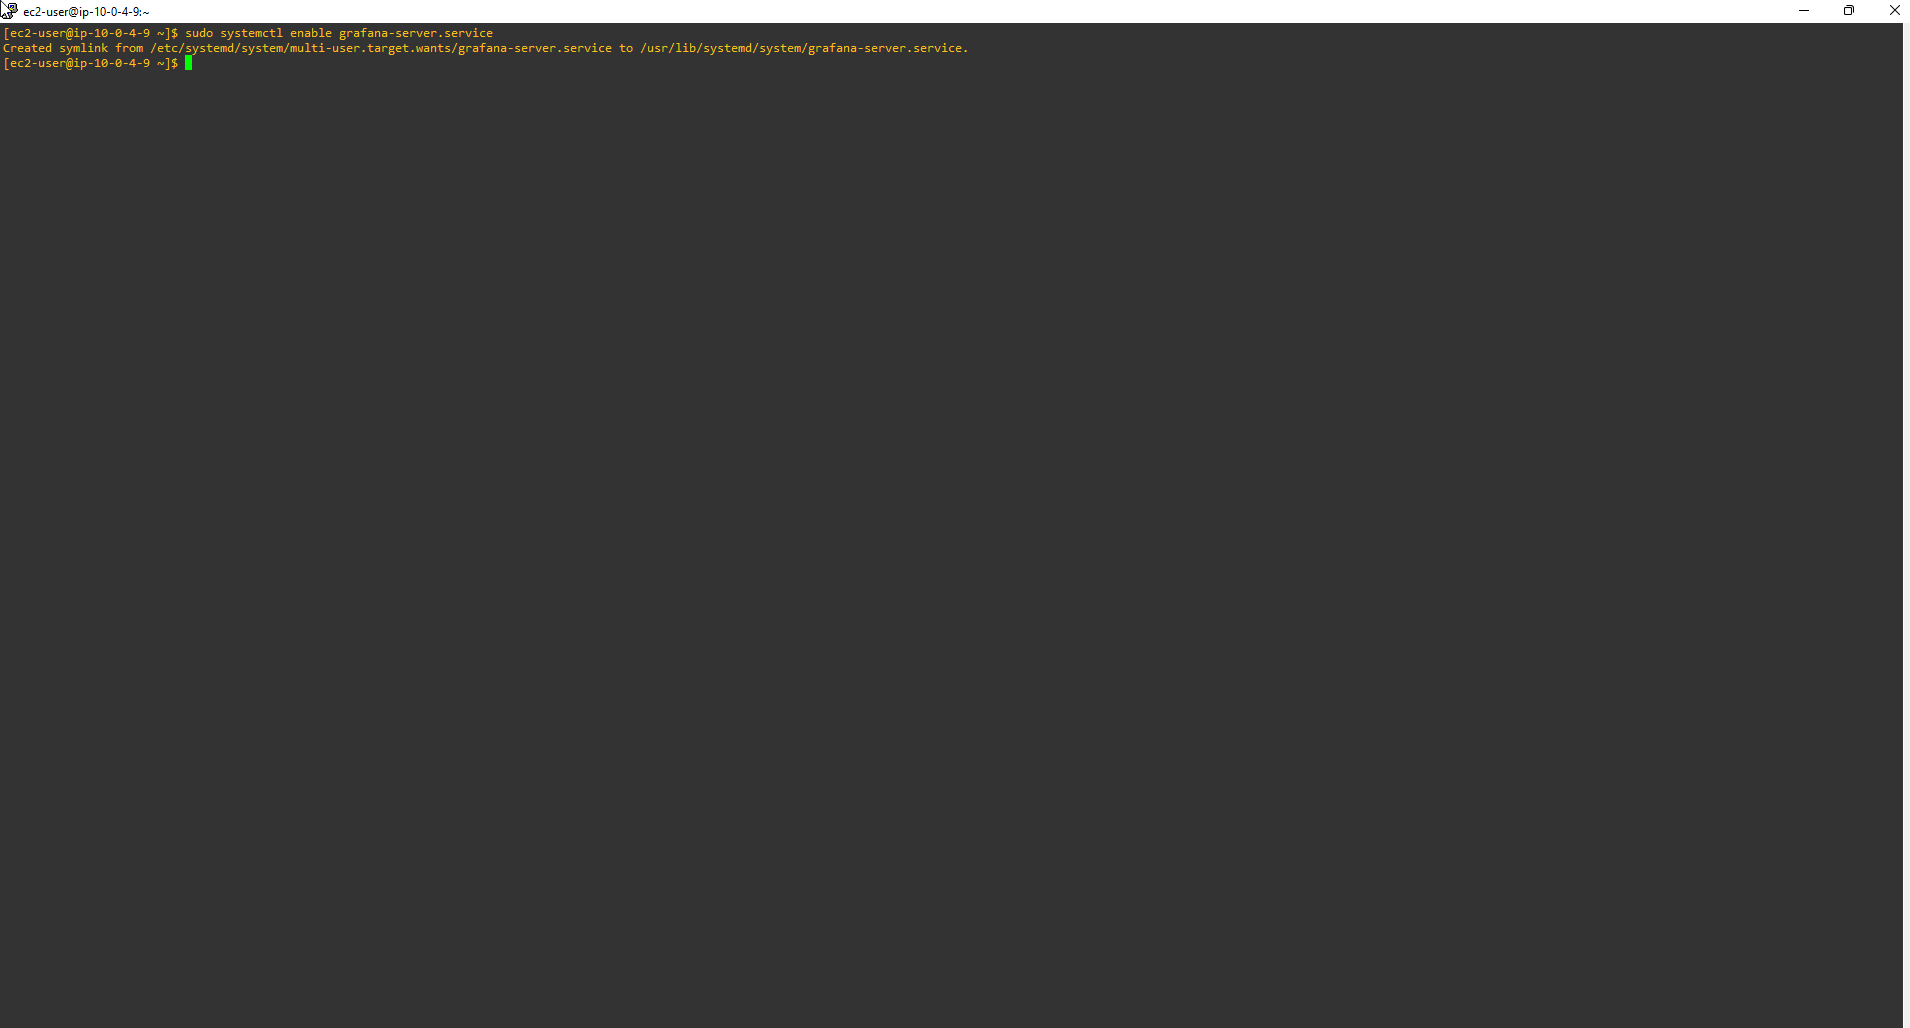
- Run the command below to make sure Grafana will always launch itself every time you restart your Amazon Linux 2 instance.
sudo systemctl enable grafana-server.service
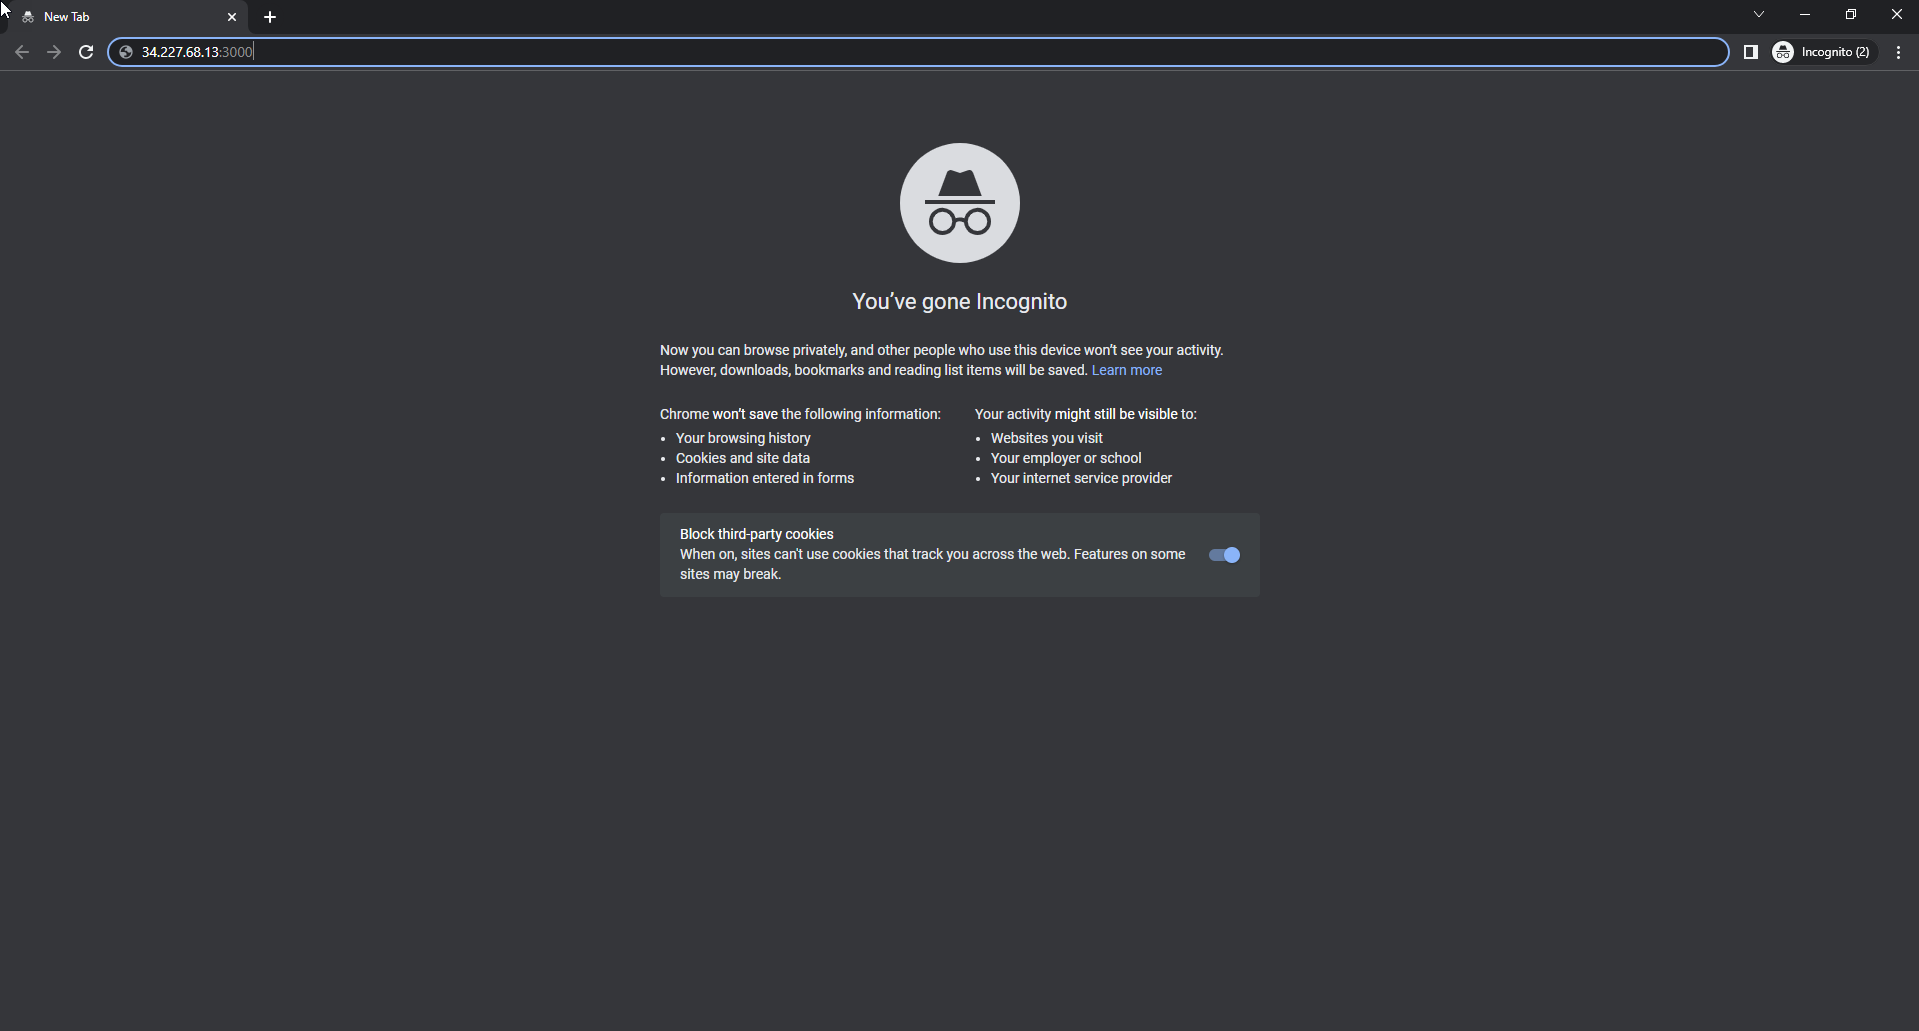
- Use Public IPv4 address of Grafana-Server instance and access port 3000
- Run in browser. Example: 34.227.68.13:3000
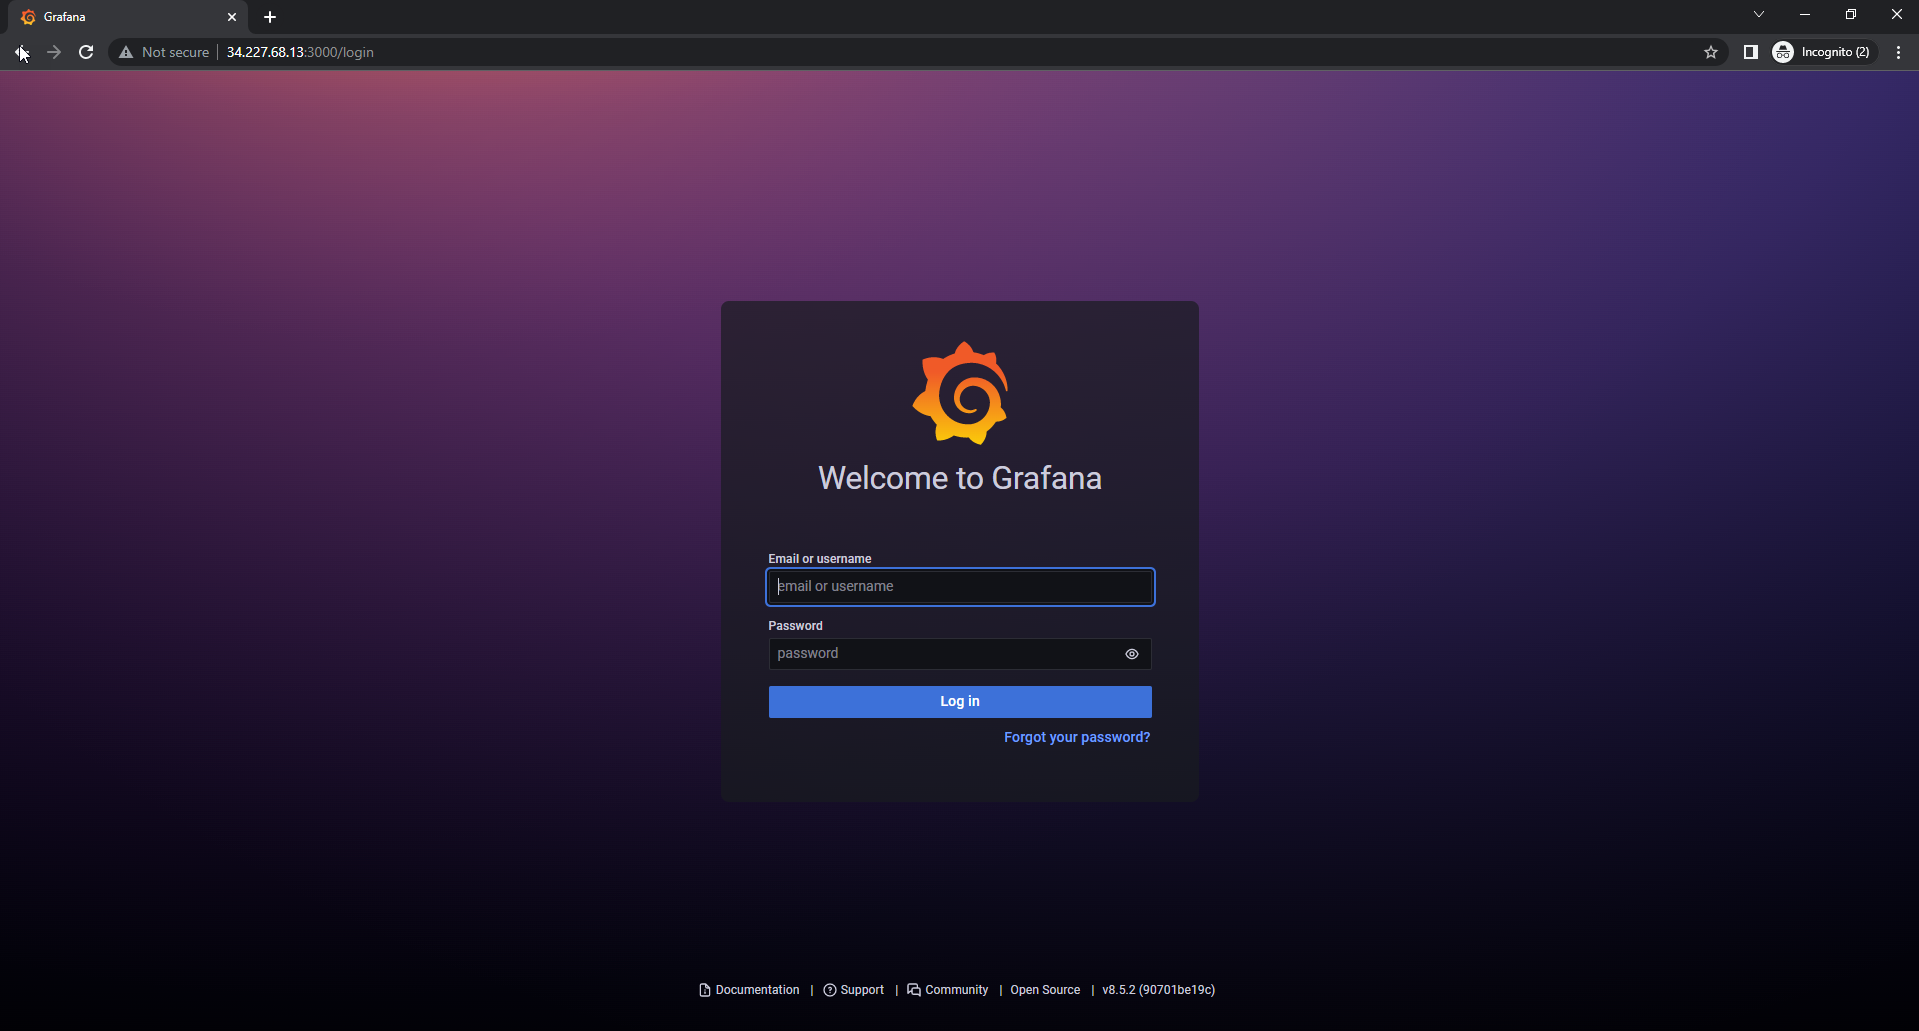
- We have reached the login interface of Grafana
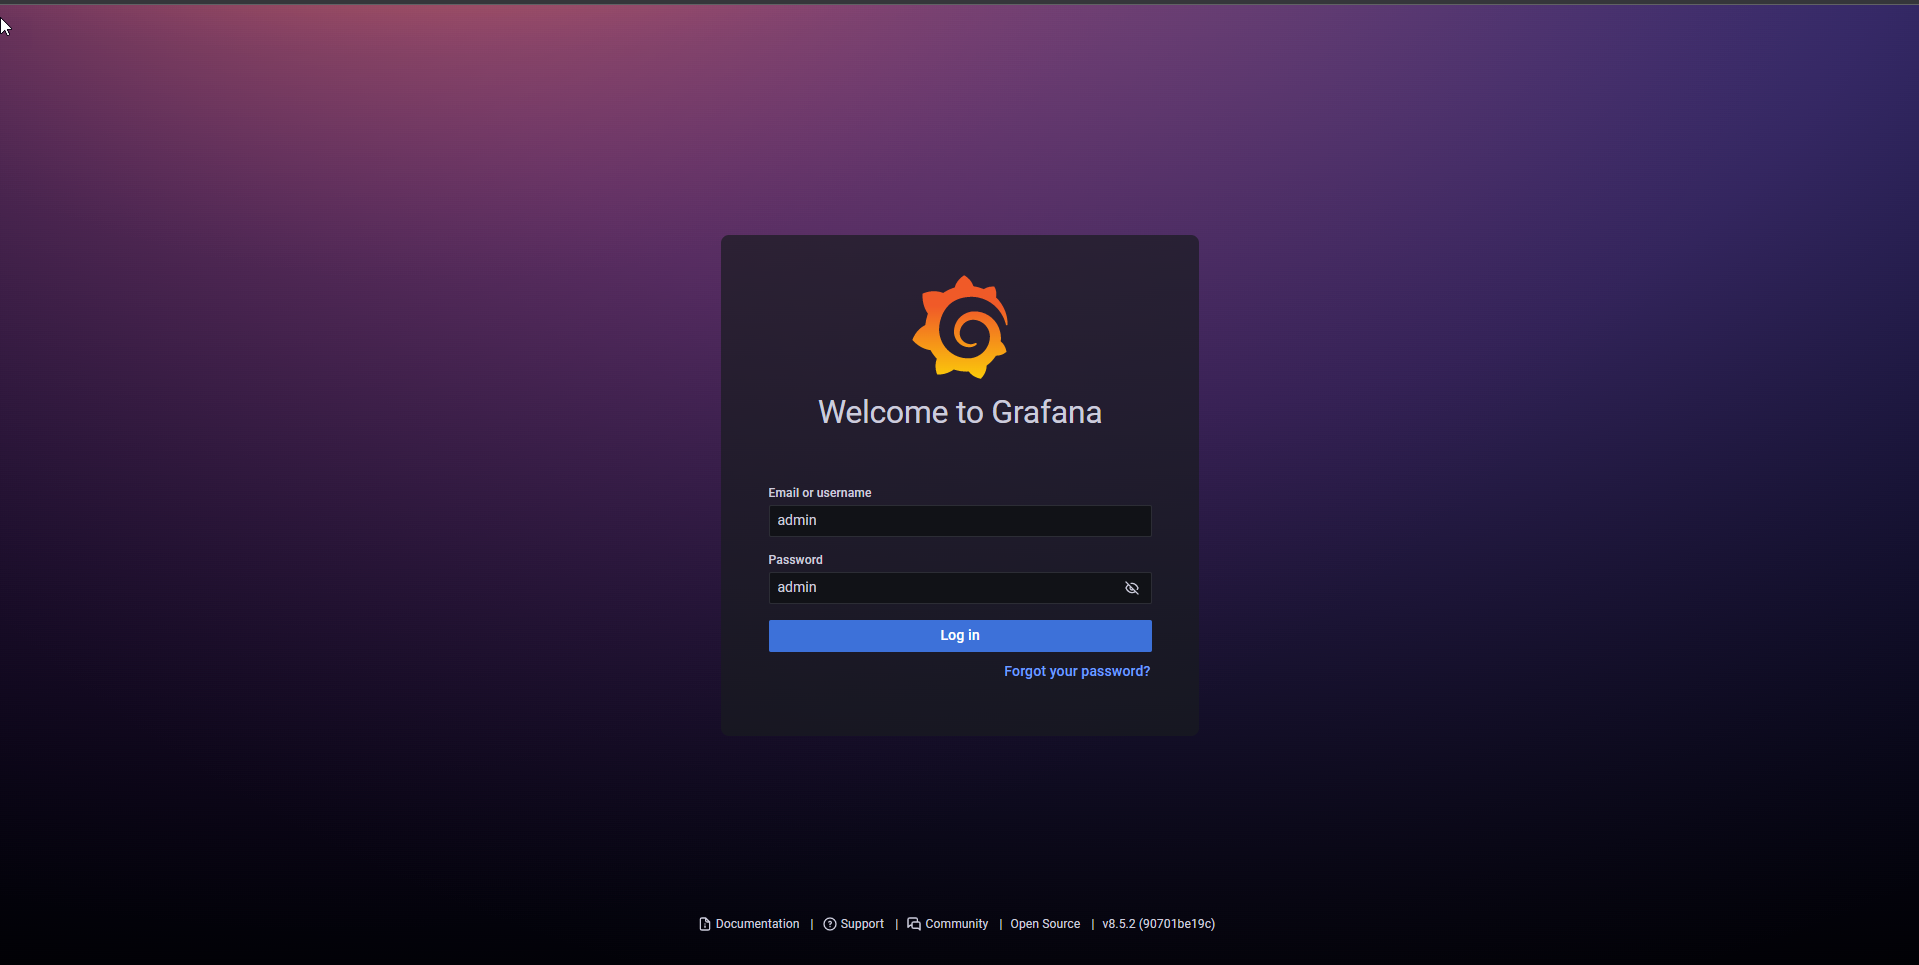
- In the Grafana interface
- Email or username, enter
admin
- Password, enter
admin
- Select Log in
- After log in Grafana
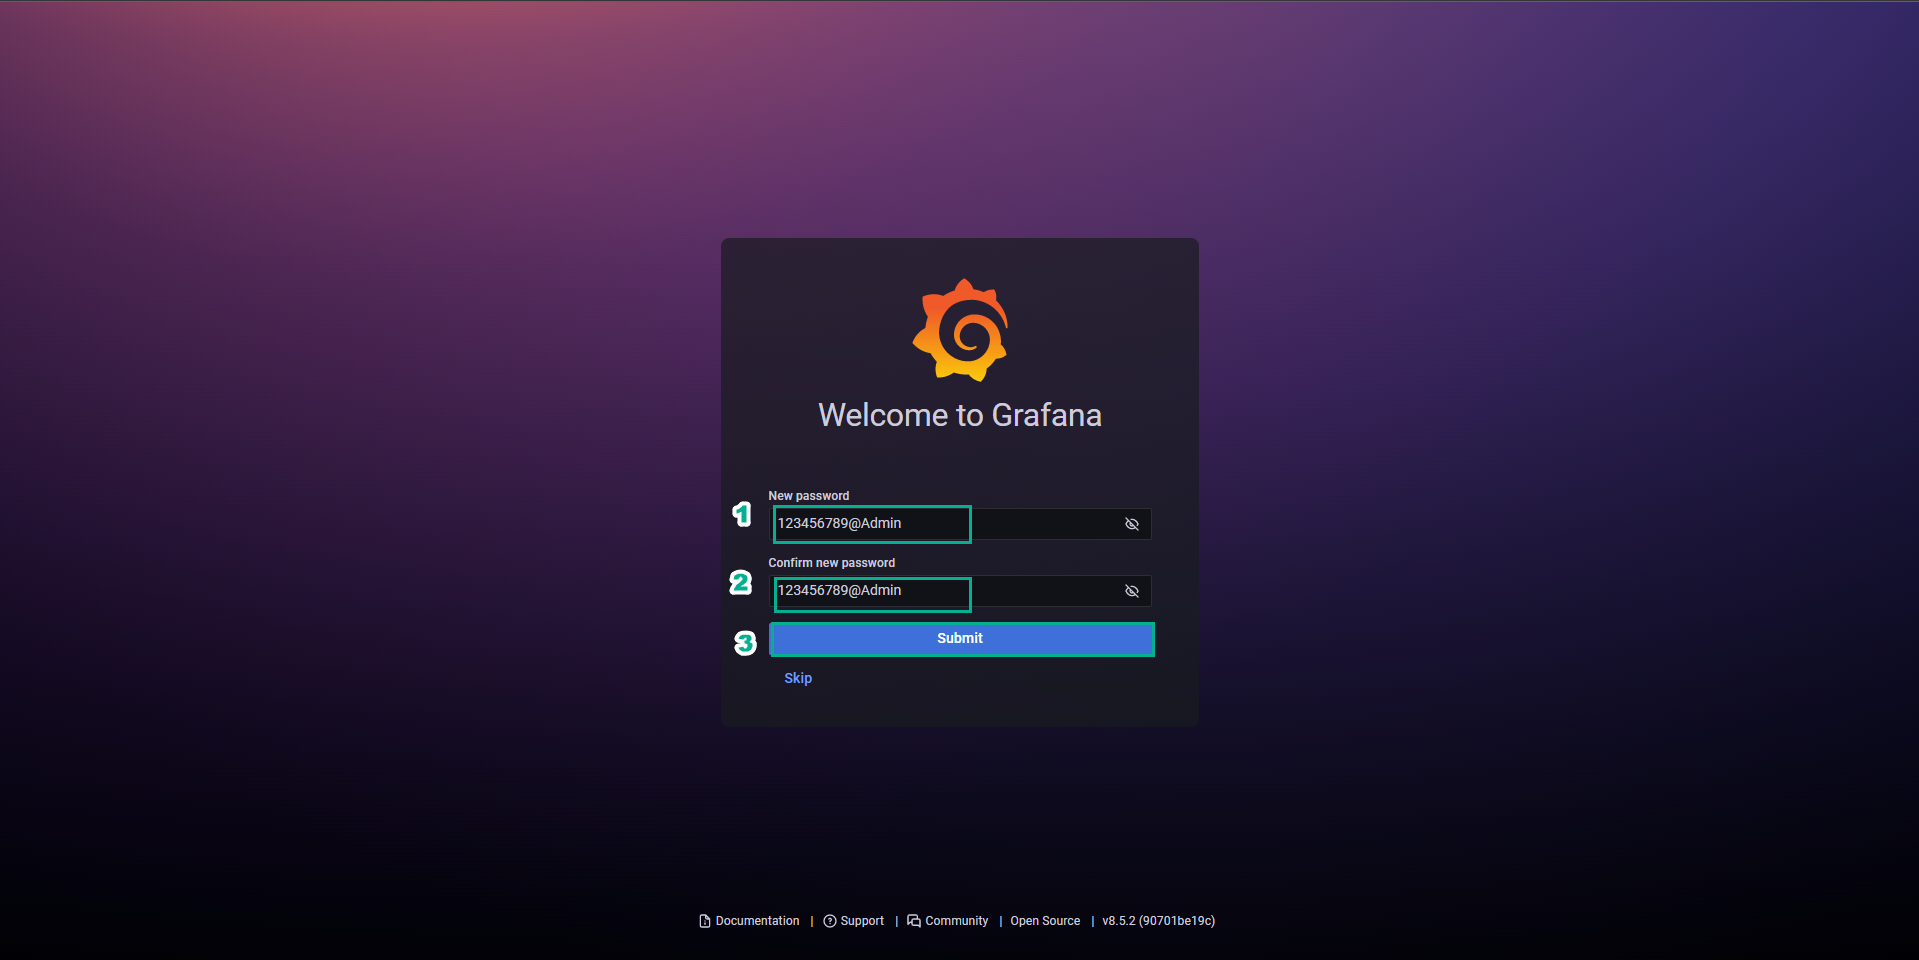
- New password, enter the password you want to set
- Confirm new password, re-enter the password you set
- Select Submit
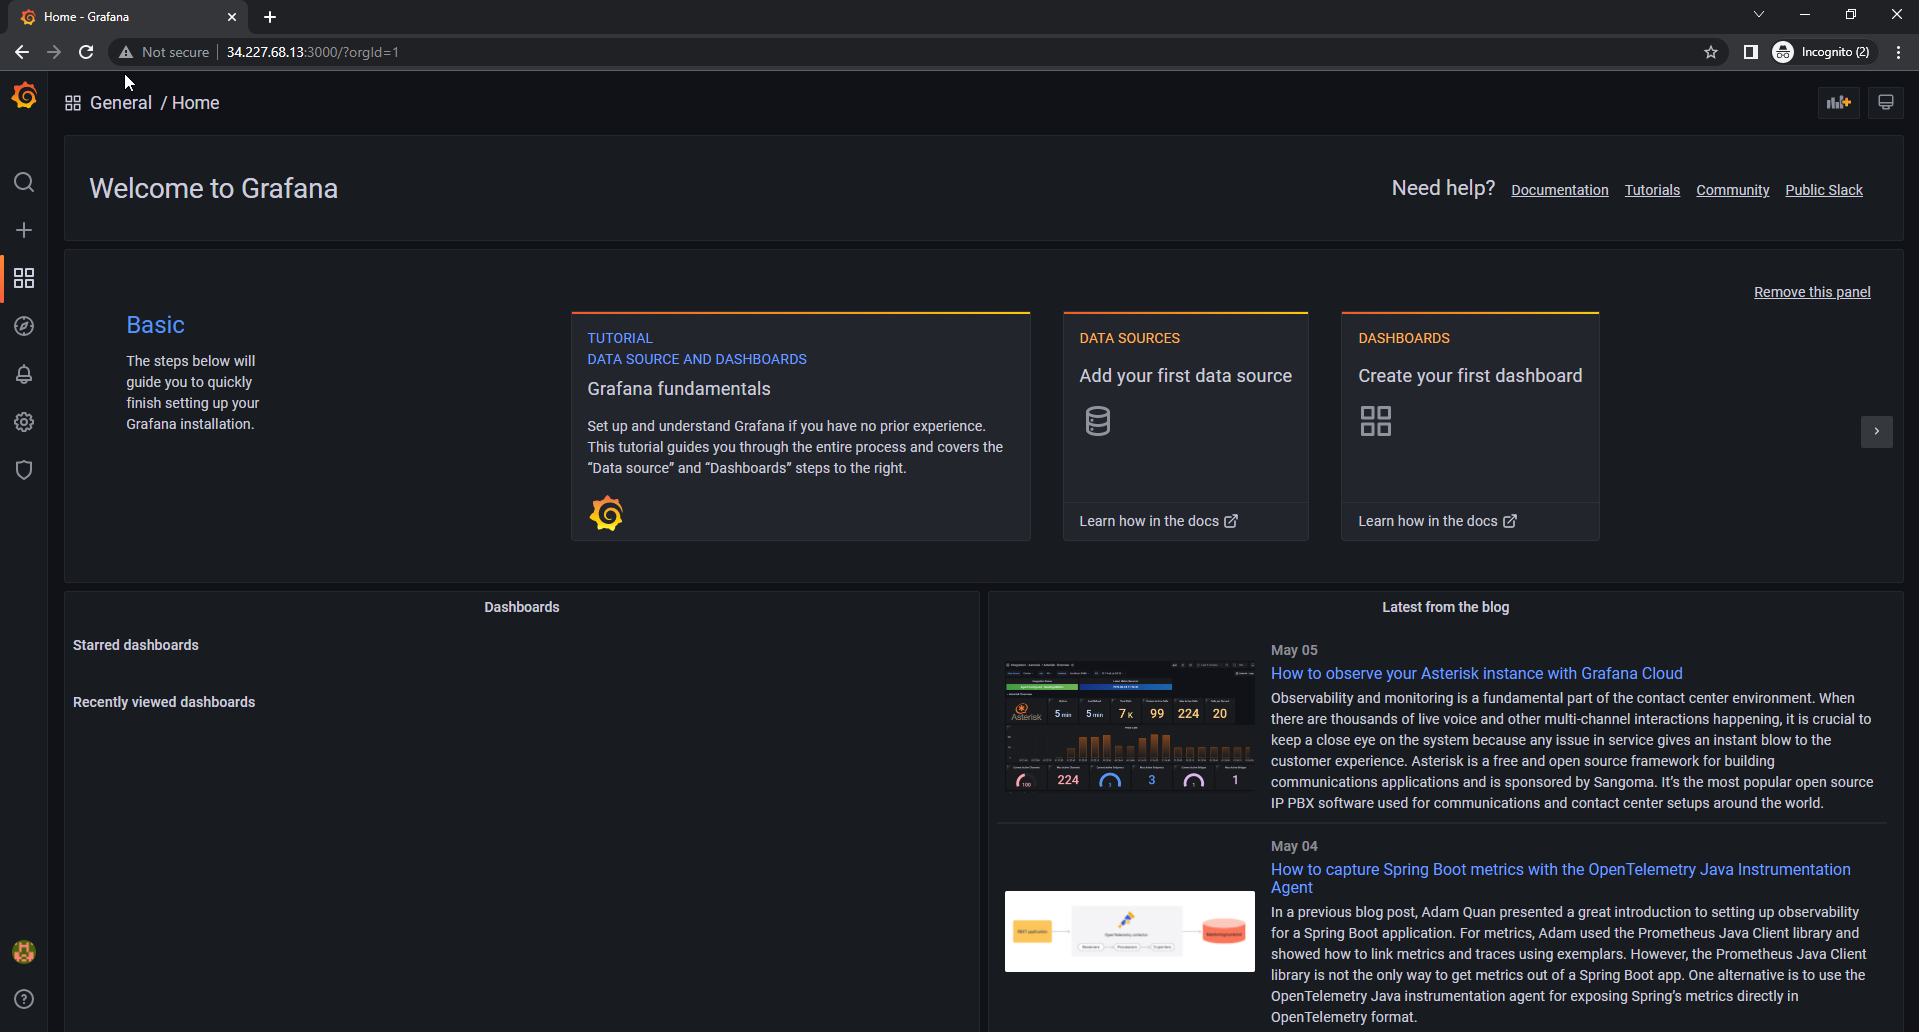
- So we have finished logging in to the Grafana interface
Make EC2 connection using MobaXterm


