Create VPC and subnet
-
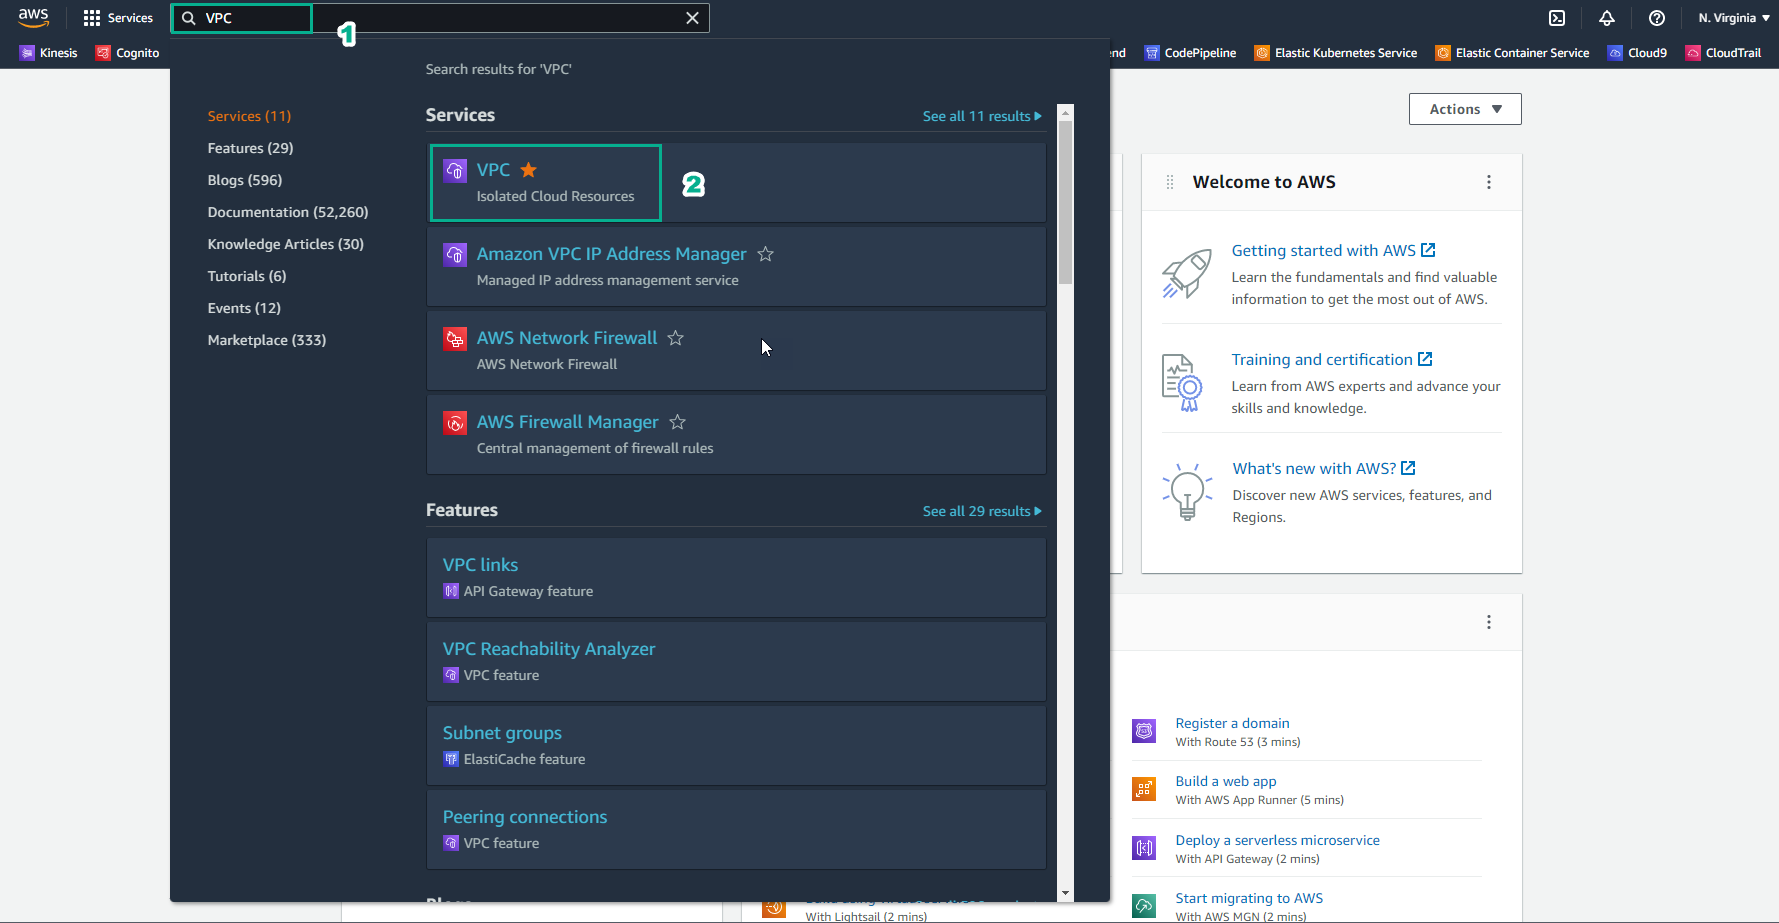
Go to AWS Management Console
- Locate VPC in the menu.
- Click on VPC.
-
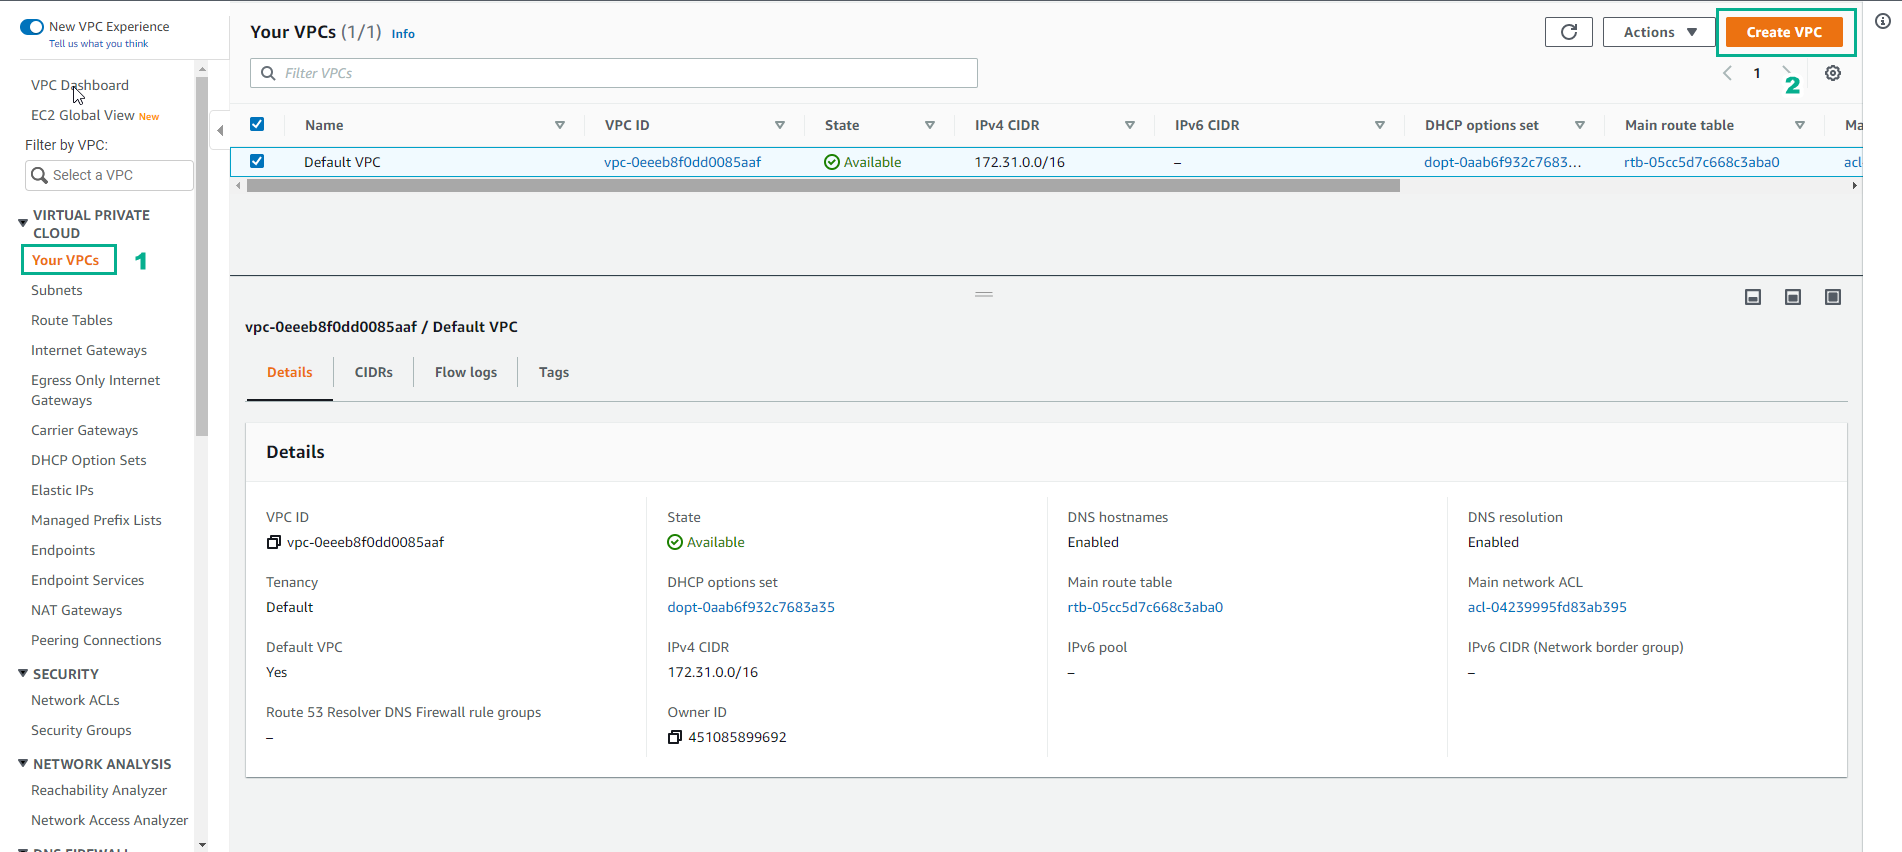
In the VPC interface,
- Choose Your VPCs from the navigation pane.
- Click on Create VPC.
-
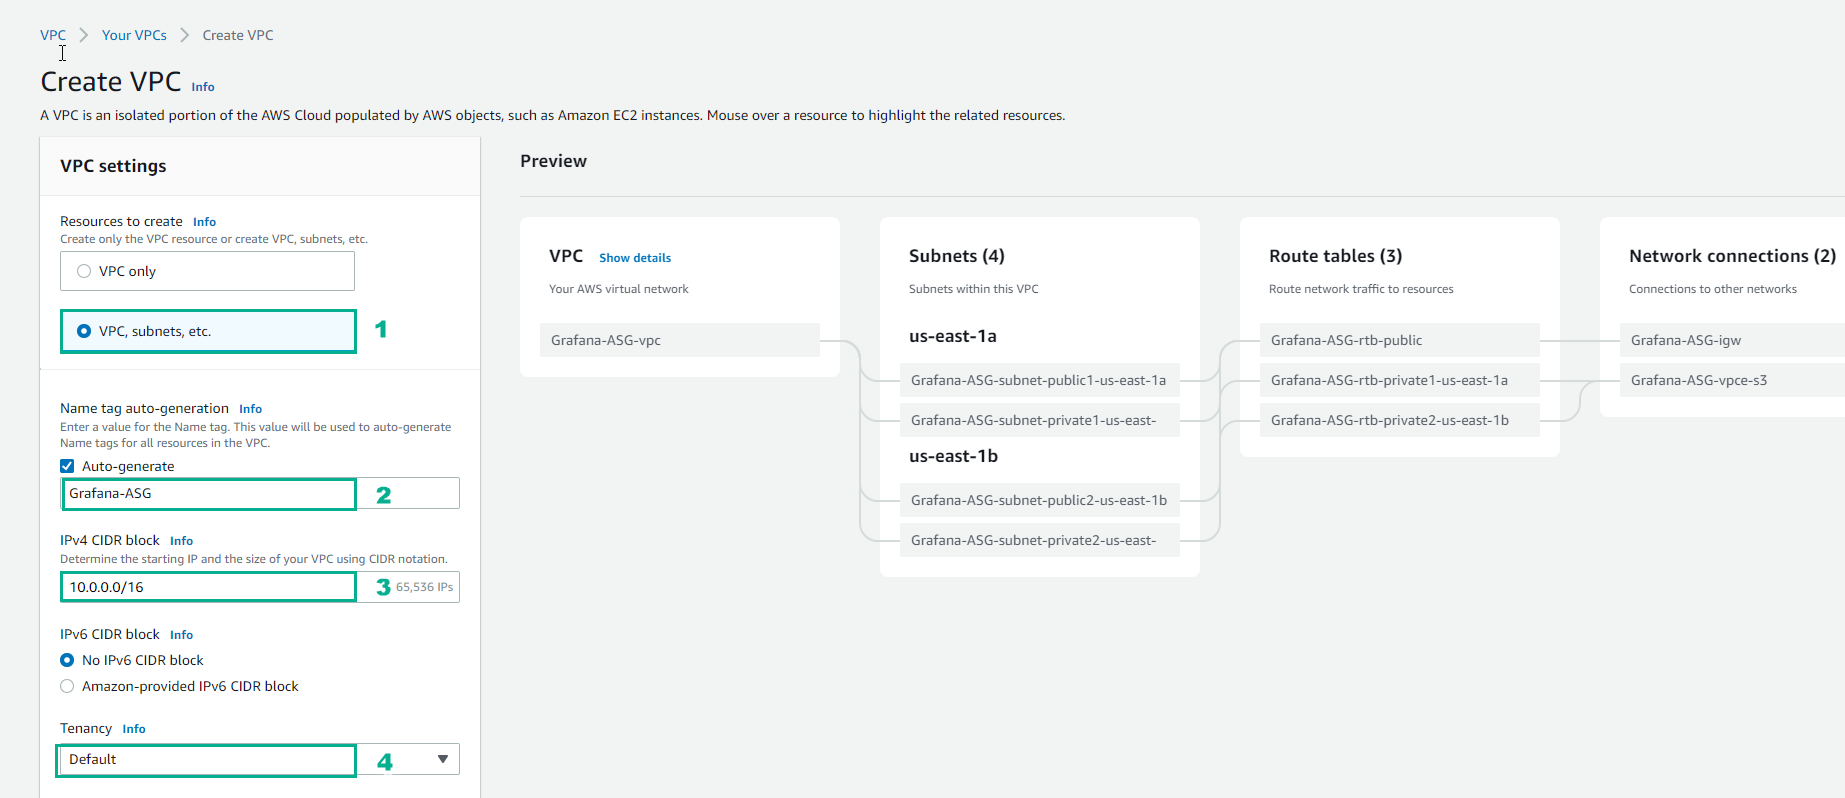
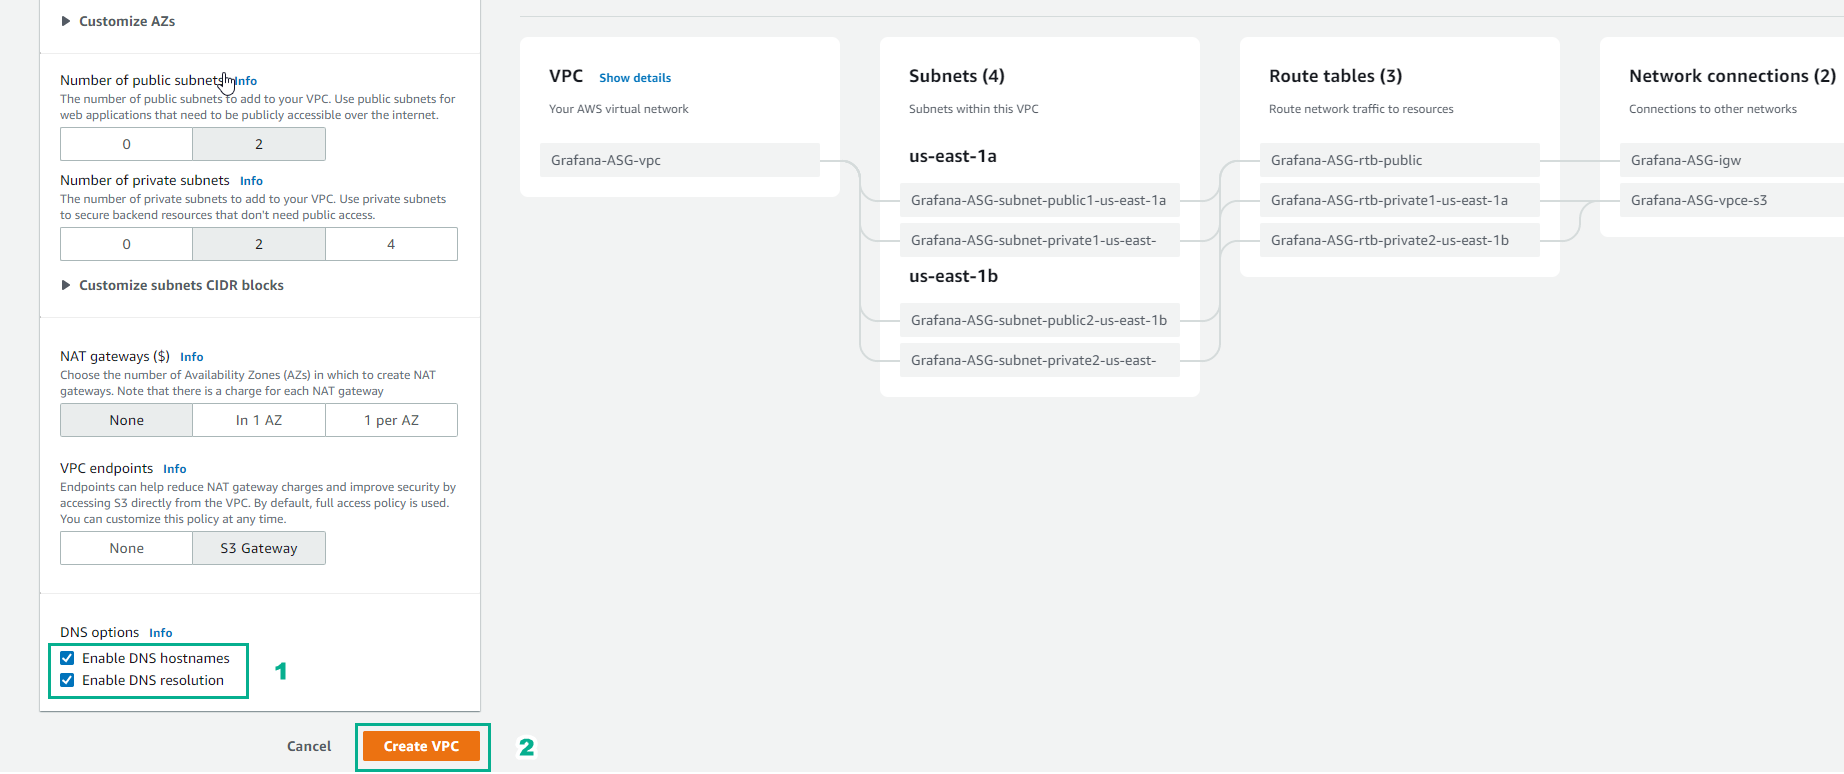
In the Create VPC interface,
- Select VPC, subnet, etc.
- Enter a name, for example,
Grafana-ASG. - In the IPv4 CIDR block field, input 10.0.0.0/16.
- Choose Default as the tenancy option.
-
Click on Create VPC.
-
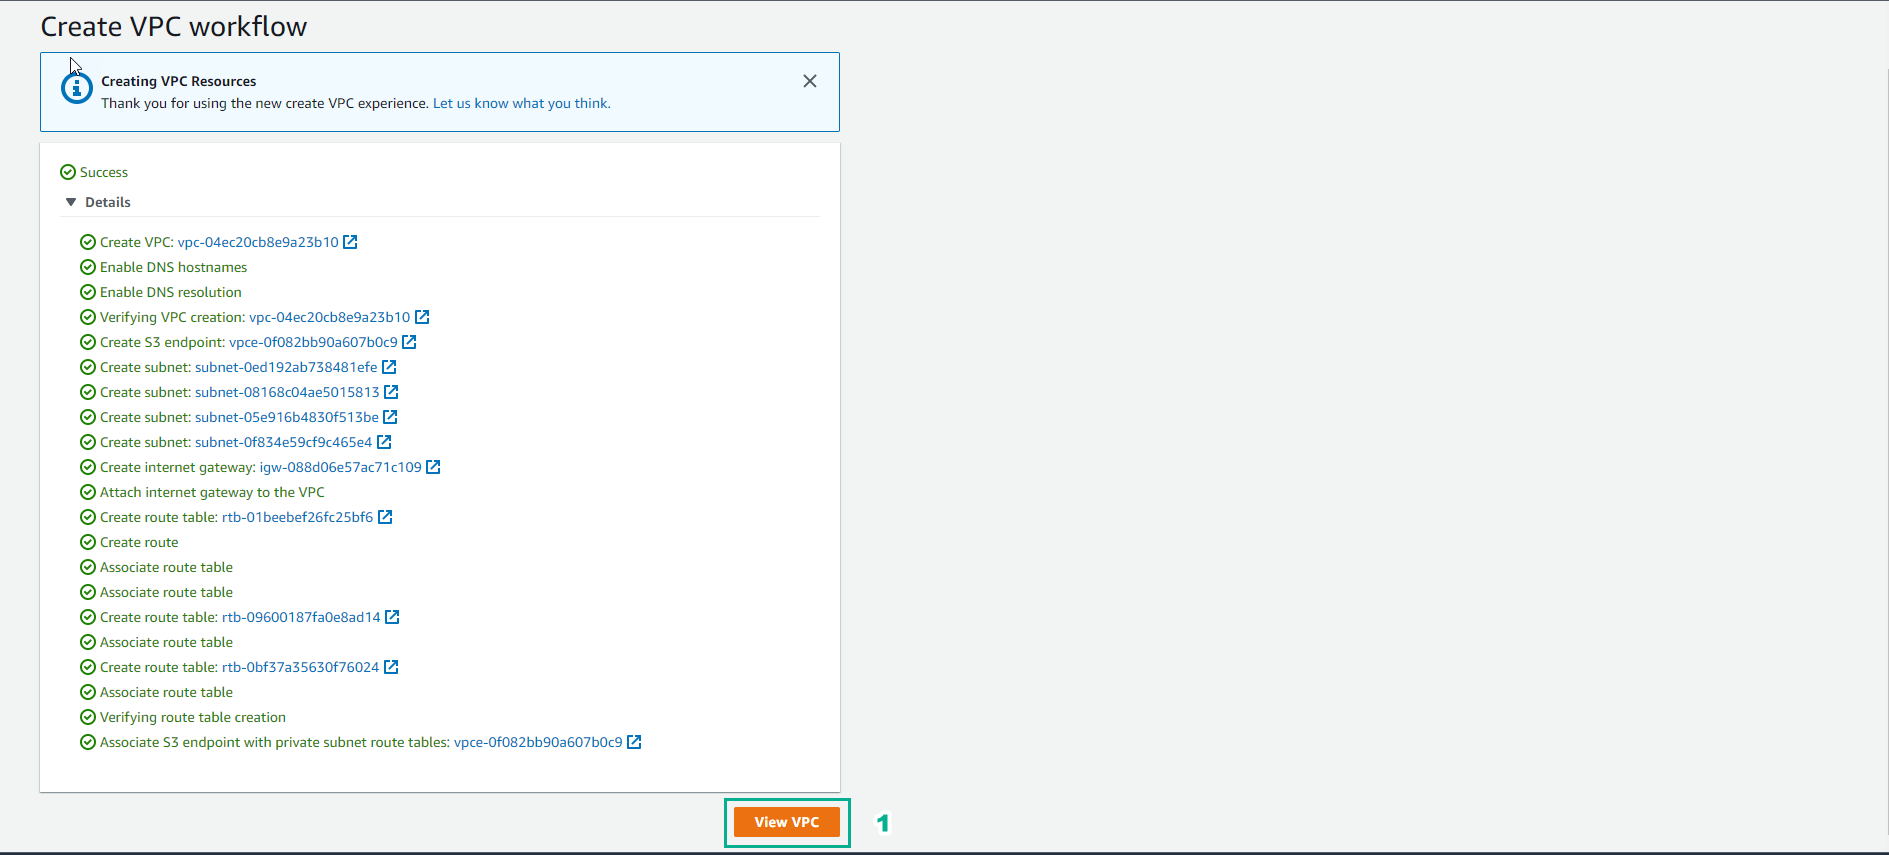
View the VPC workflow and click on View VPC.
-
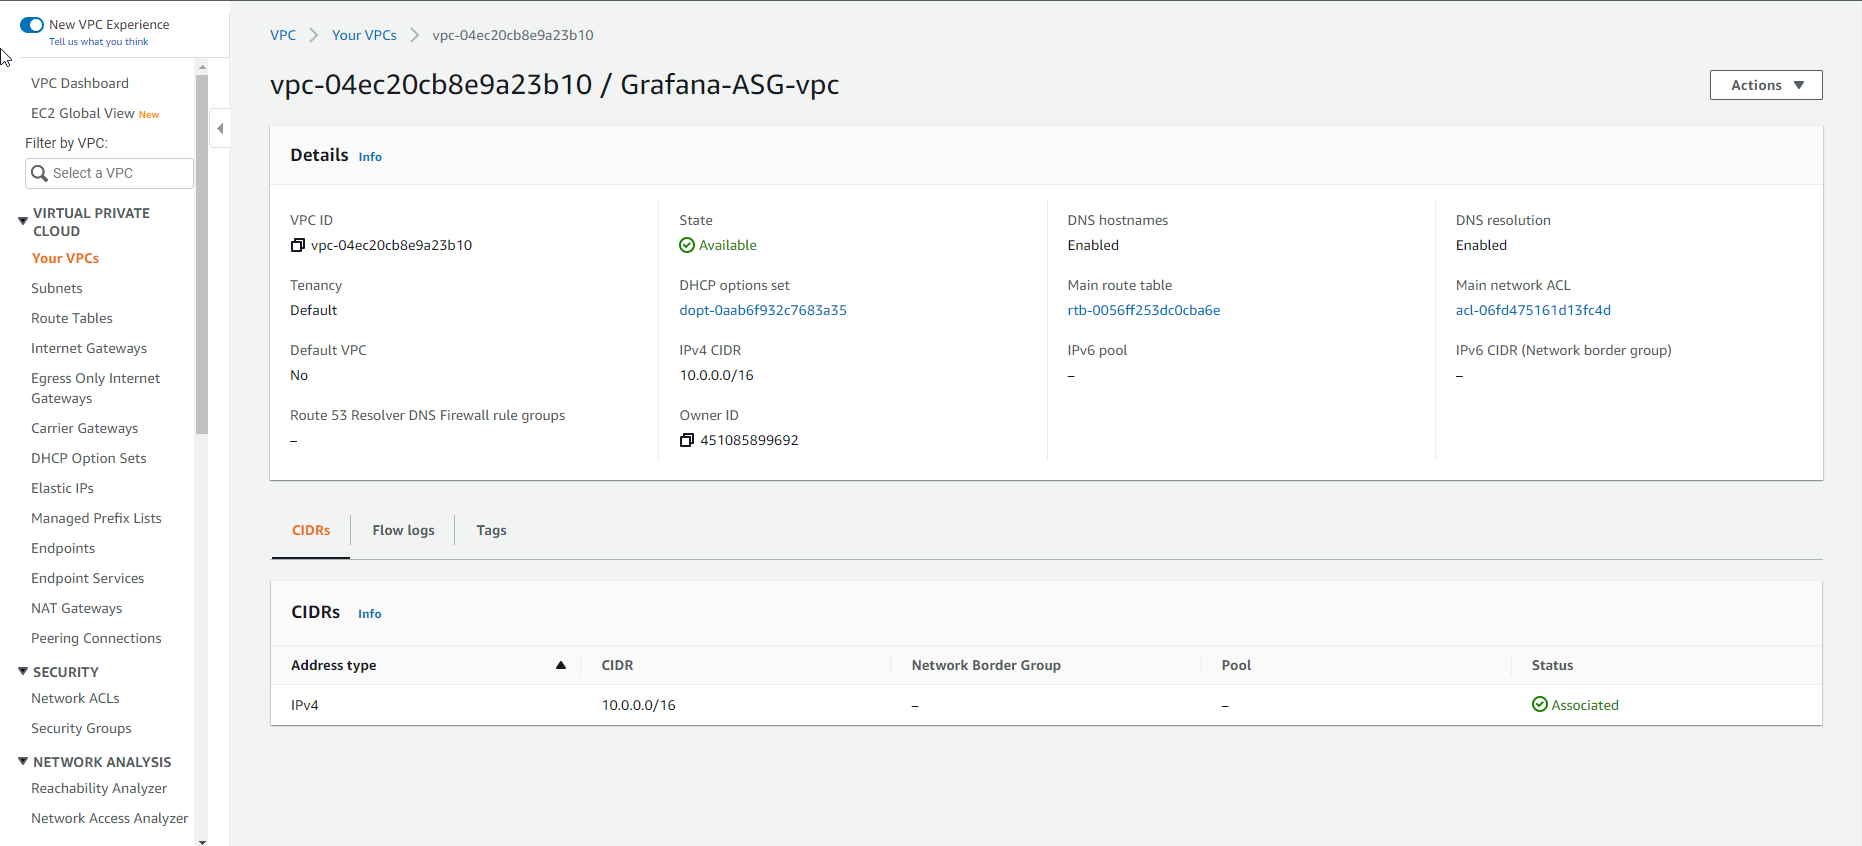
Finish creating the VPC.
-
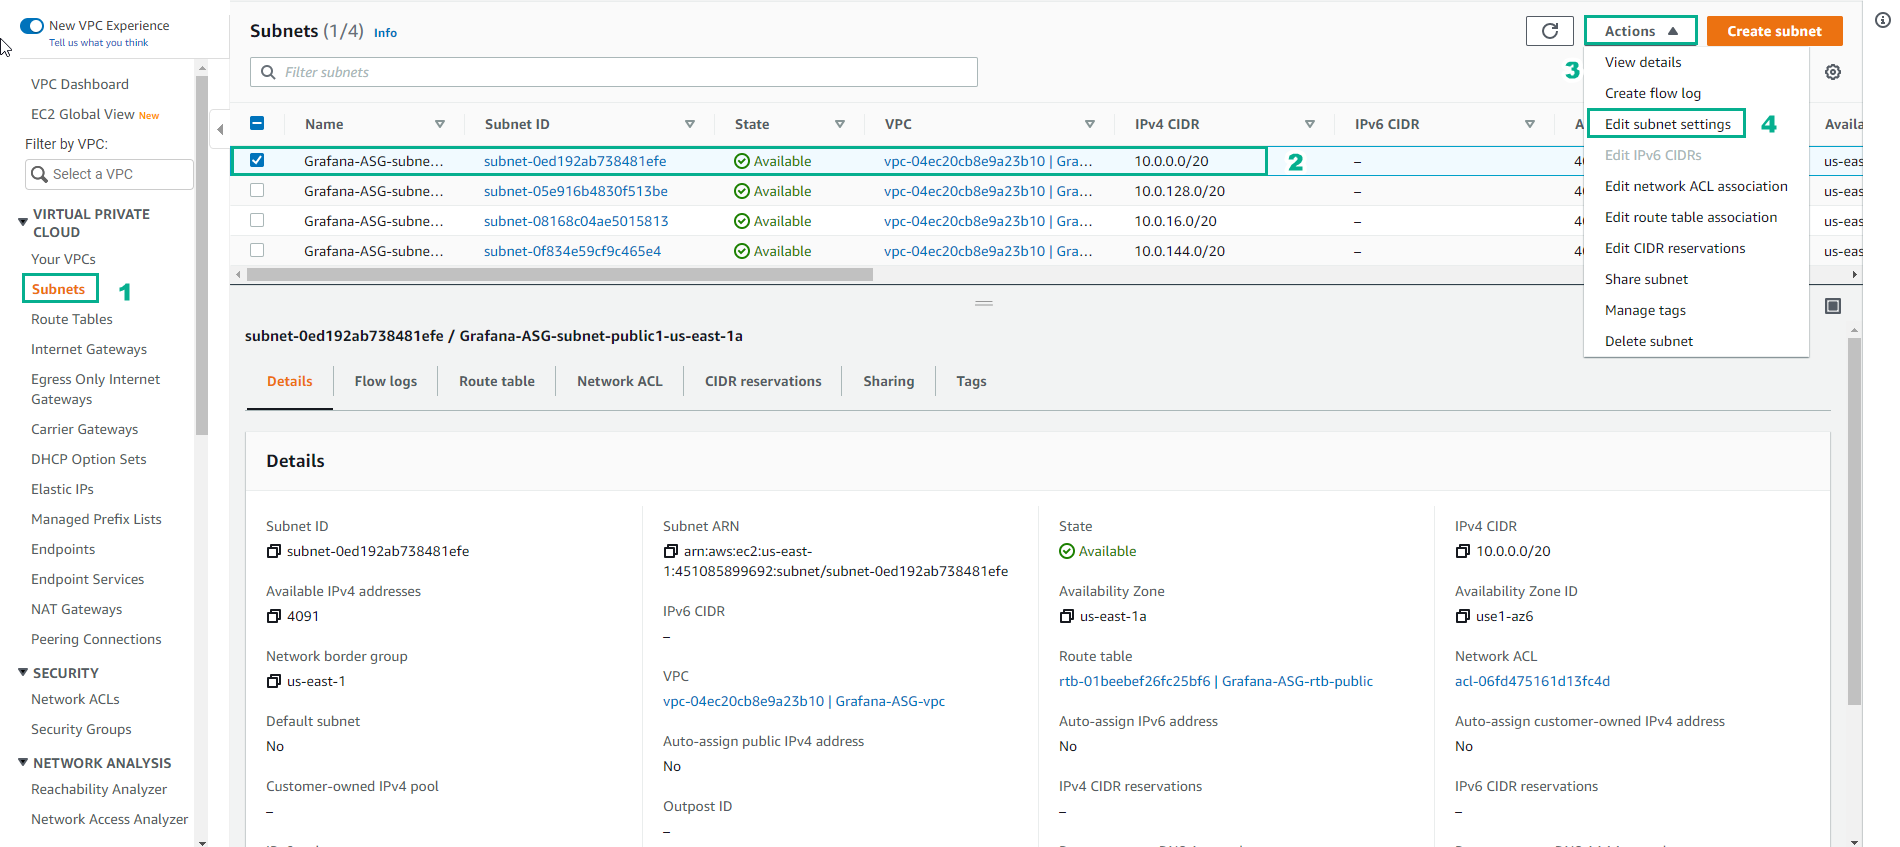
In the VPC interface,
- Go to Subnets from the navigation pane.
- Select the subnet named Grafana-ASG-subnet-public1-us-east-1a.
- Click on Actions.
- Choose Edit subnet settings.
-
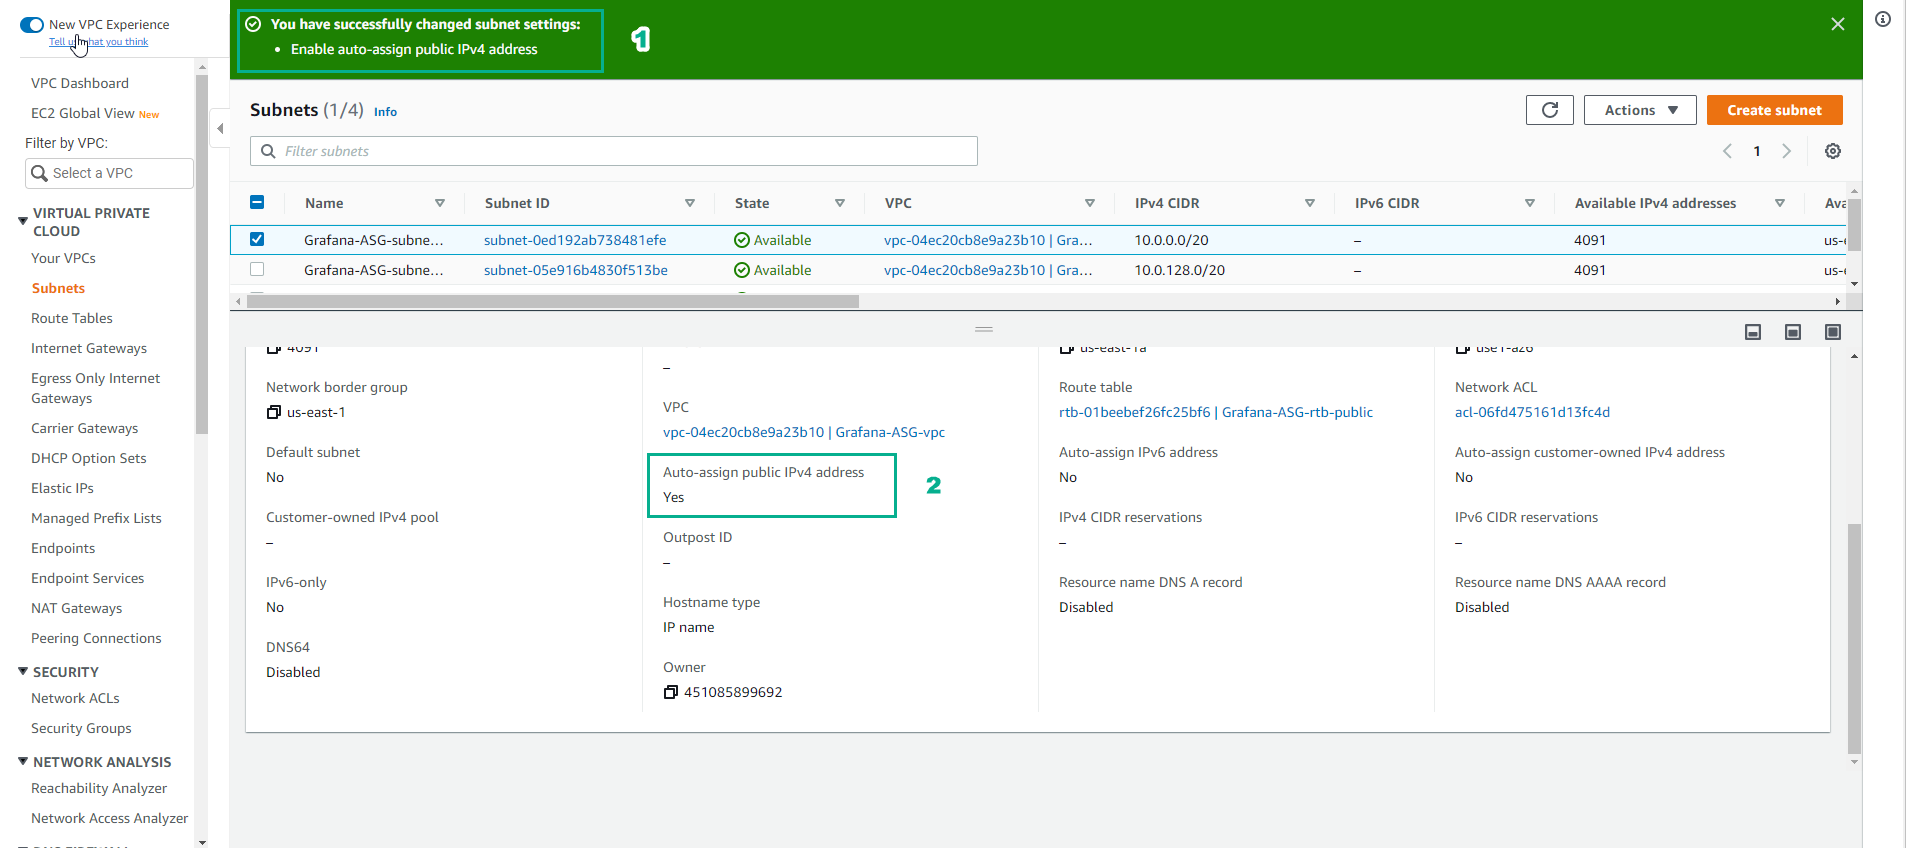
In the Subnet settings interface,
- Tick the box for Enable auto-assign public IPv4 address.
- Click on Save.
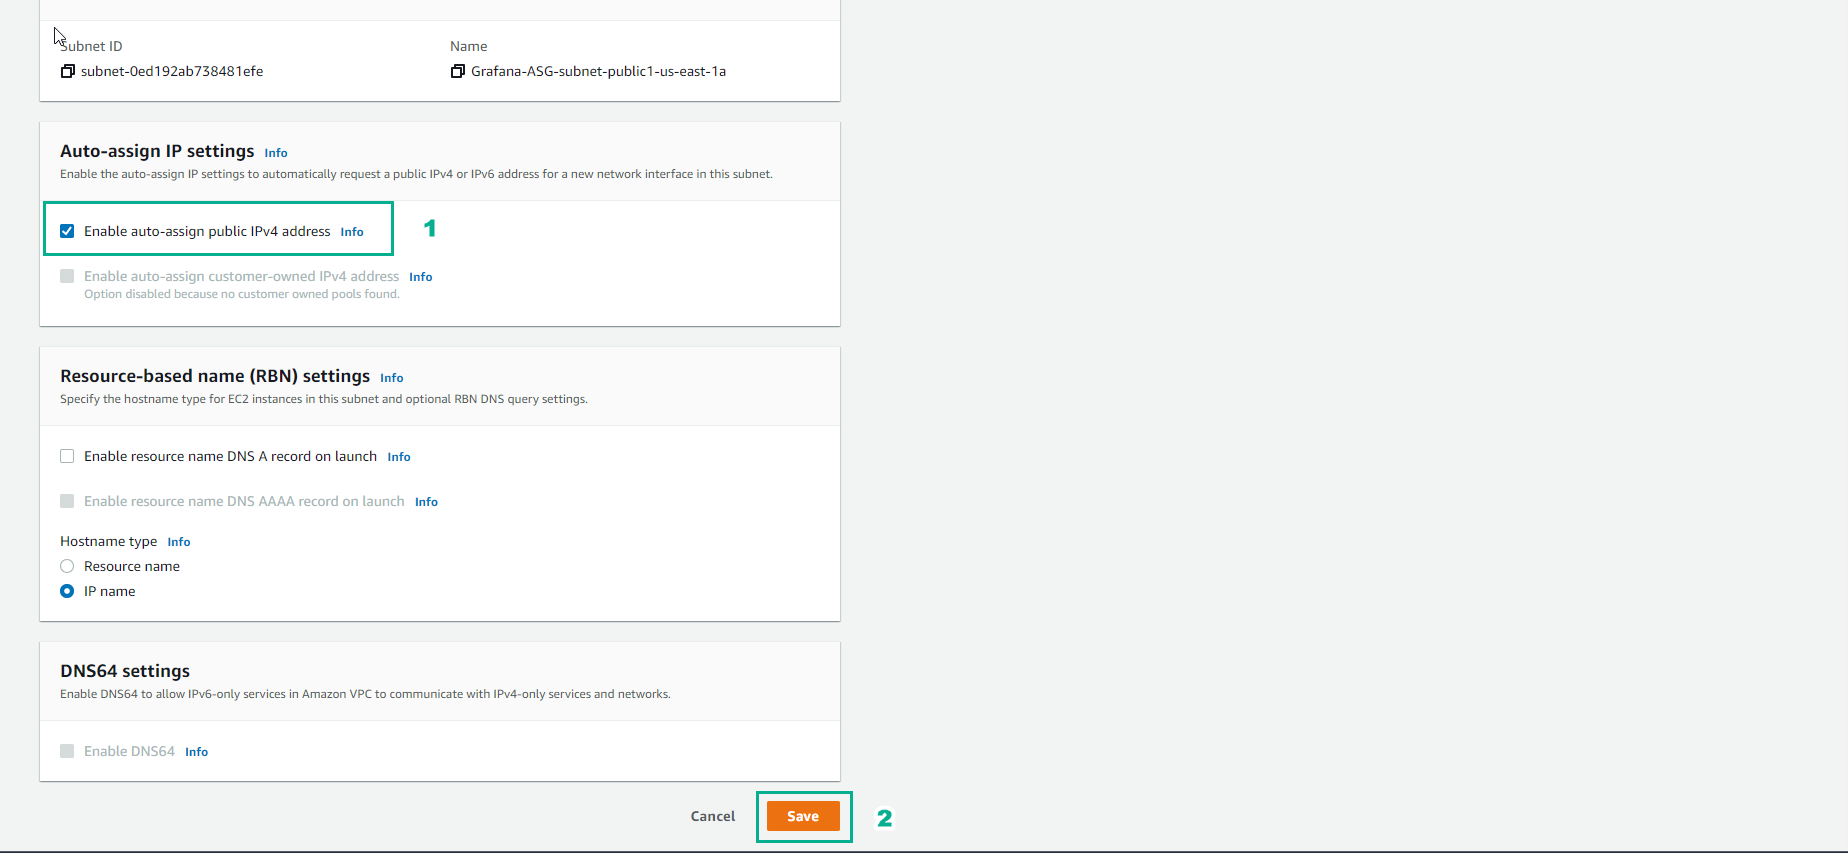
-
Complete the process by confirming the enabling of auto-assigning public IPv4 addresses.